HDR Real Estate Photography: Camera Settings, Bracketing and the Gear You Need
How to shoot a bracketed HDR listing room by room: camera settings, tripod height, common mistakes, HDR vs flash, and example picks for the kit.
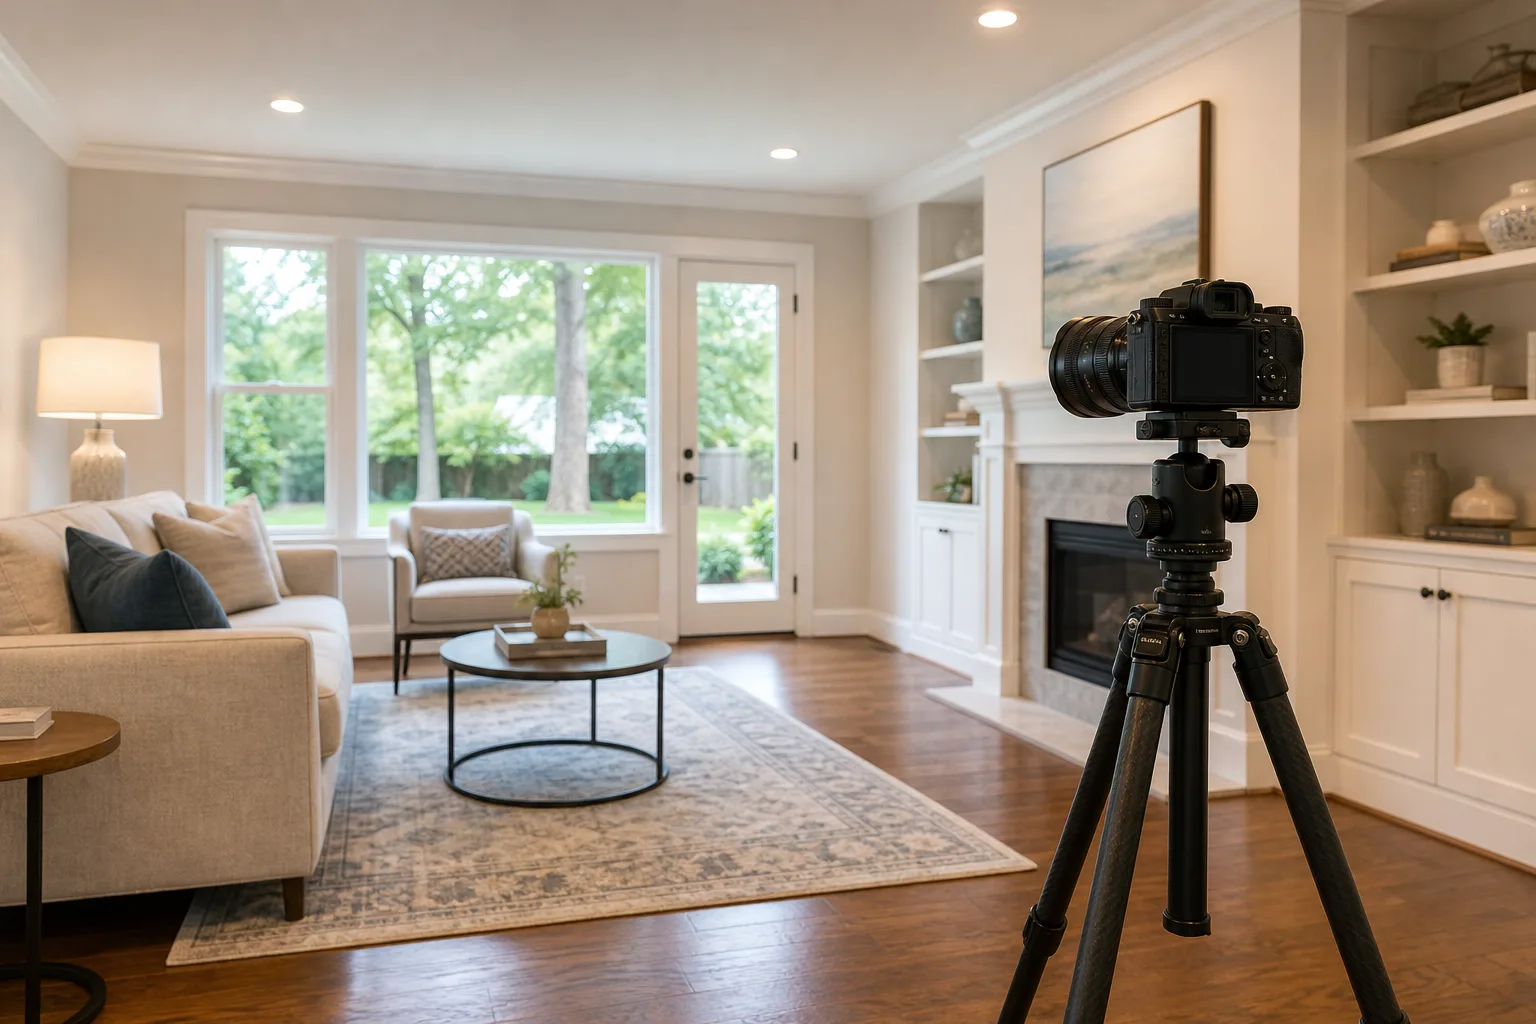
Most listing photos are HDR: several exposures of the same view, taken from a tripod and blended so the room looks bright and the windows still show what is outside. The method is quick on site and needs no lighting gear: one camera, one wide lens and a tripod can cover a whole house.
This guide covers a bracketed HDR listing shoot from start to finish: preparing the rooms, camera settings, where to stand, common mistakes, and how HDR compares with the flash-plus-ambient method, followed by example gear for each part of the kit.
The short version
- Camera: level, on a tripod, at about light-switch height (roughly 48 inches). Raise it for kitchens and to see over furniture.
- Settings: around f/8, a fixed low ISO (100 to 400), only the shutter speed changing between frames.
- Bracket: three frames 2 stops apart for ordinary rooms, five frames 2 stops apart when a bright window is in view.
- Trigger: self-timer, remote or phone app, so nothing touches the camera during the set.
- Target: about 25 to 30 finished photos for a typical house.
The kit at a glance
| Product | Shop | Part of the kit | Job in an HDR shoot | Key spec |
|---|---|---|---|---|
| Sony a7 V (E-mount body) | 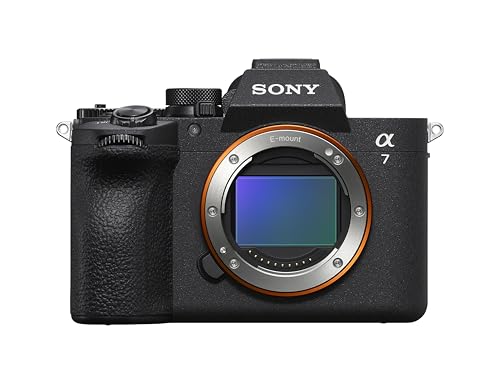 View on Amazon | Camera | Fires the bracket, writes each frame to two cards | 33 MP full frame |
| Canon EOS R6 Mark III (RF-mount body) | 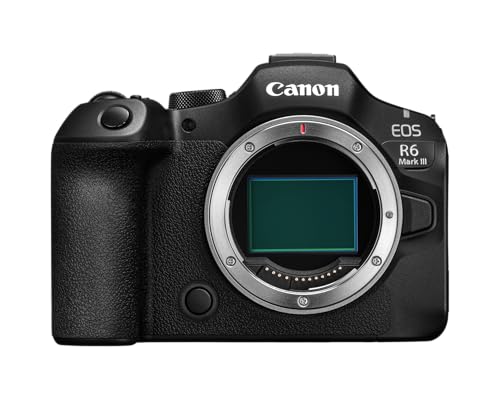 View on Amazon | Camera | Fires the bracket, writes each frame to two cards | 2, 3, 5 or 7-frame bracketing |
| Sony FE 12-24mm F4 G (Sony E-mount) |  View on Amazon | Ultra-wide lens | Fits small rooms into one frame | 12-24 mm, 565 g |
| Canon RF14-35mm F4 L IS USM (Canon RF-mount) |  View on Amazon | Ultra-wide lens | Fits small rooms; takes a polarizer | 14-35 mm, 77 mm filters |
| Peak Design Travel Tripod (Carbon Fiber) | 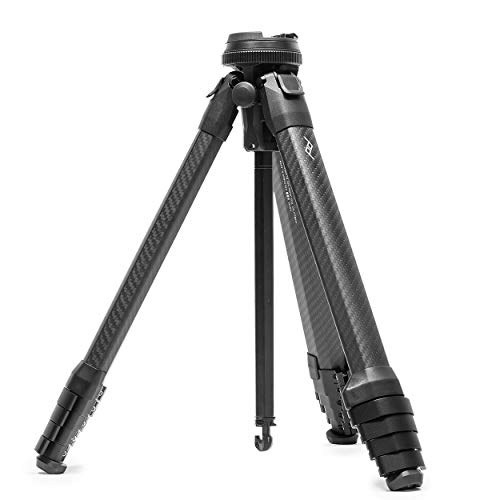 View on Amazon | Compact tripod | Holds the camera through the set in tight rooms | Up to 60 in, about 2.8 lb |
| Benro GD3WH Precision Geared Head |  View on Amazon | Tripod head | Levels the camera so walls stay vertical | Three geared axes, 13.2 lb load |
| K&F Concept 3-Way Geared Tripod Head |  View on Amazon | Tripod head | Levels the camera so walls stay vertical | Three geared axes, 13.2 lb load |
| Godox AD200Pro II Pocket Flash |  View on Amazon | Flash (optional) | One extra frame for window views and cleaner color | 200 Ws |
Sony body for the kit
Sony a7 V (E-mount body)
A 33 MP full-frame body with two card slots and a screen that tilts up for low tripod positions.
- 33 MP full frame
- Dual card slots
- 4-axis screen
Good for
- Sony FE lens owners
- Stills and walkthrough video on one body
Skip it if
- A capable full-frame body is already in the bag
Before the first frame: prepare the house
Walk the whole house before the camera comes out. Turn on every light, including lamps and under-cabinet strips, and keep it consistent from room to room. Turn ceiling fans off, because moving blades blur across a bracket. Then clear what agents notice first: dish soap and paper towel rolls on counters, used towels, a ragged end on the toilet paper, pet bowls. Remember where everything went and put it back before leaving.
If a room is too cluttered to shoot, such as a packed laundry room, ask the agent before skipping it. Sellers still weeks from listing can use the time to declutter and get a home valuation.
Camera settings for a bracketed set
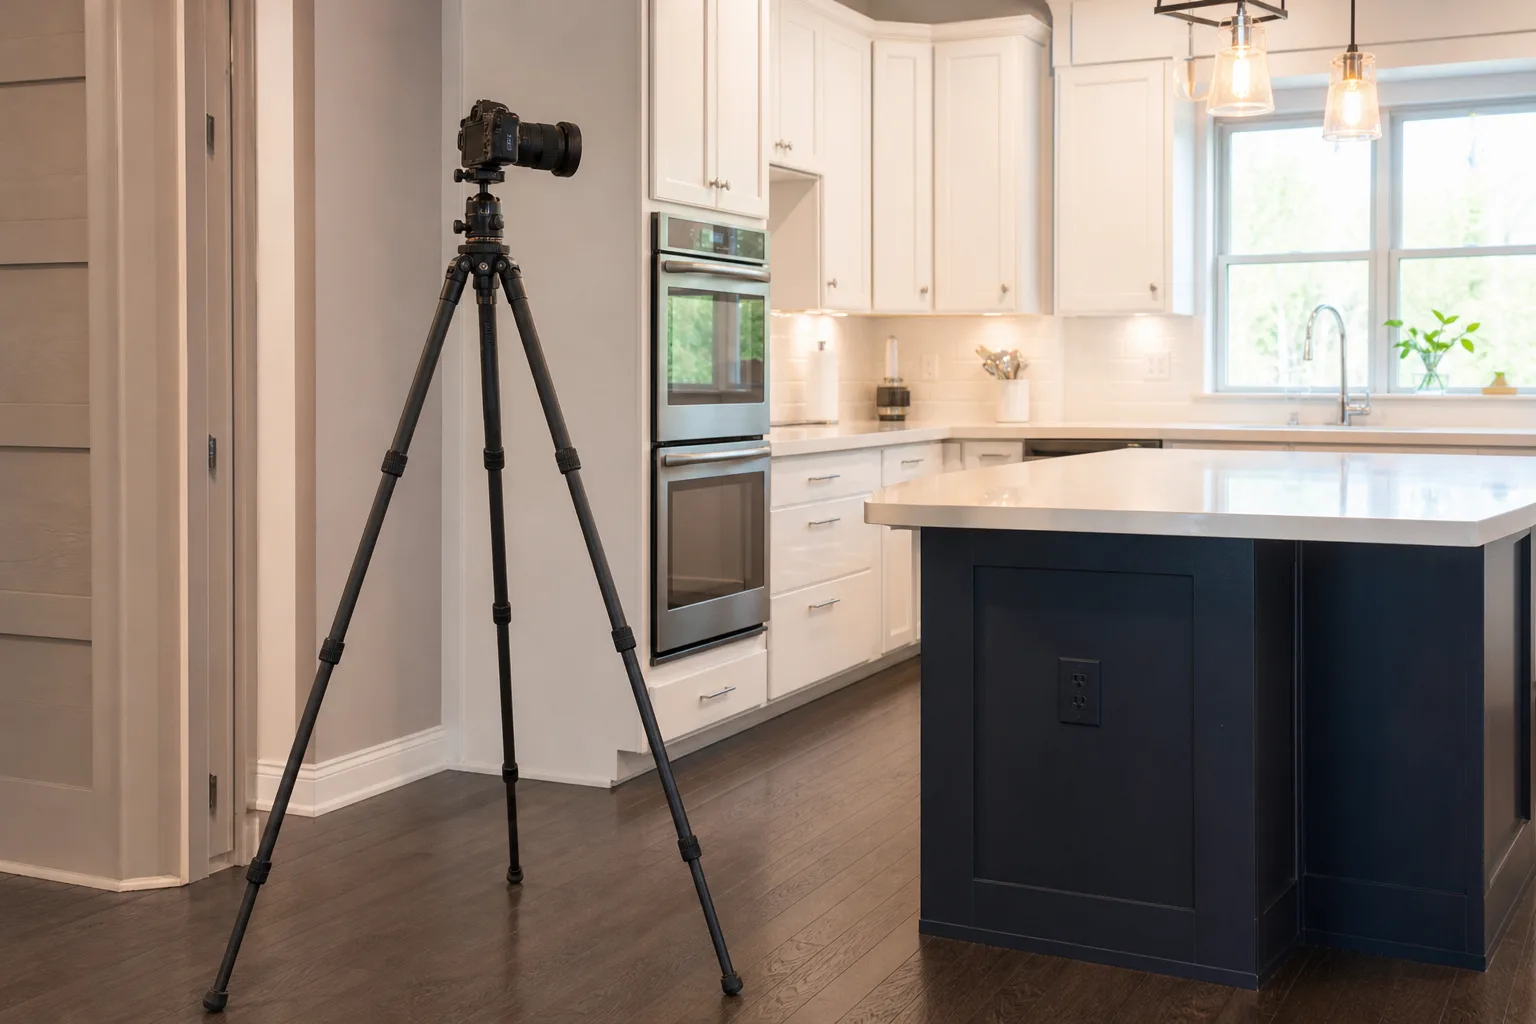
The aim is a set of frames that differ only in brightness. That means the aperture and ISO stay fixed and the shutter speed does the work. The settings below are widely used starting points, not fixed rules.
- Aperture around f/8. With a wide-angle lens it keeps the room sharp from the nearest counter to the far wall.
- ISO fixed and low. ISO 100 gives the cleanest files on a tripod. ISO 400 shortens the long exposures in dim rooms. Switch auto ISO off, or the camera will change it between frames.
- Manual or aperture priority. Either works as long as only the shutter speed moves. In manual, set the shutter so the meter reads zero for the middle frame, metering the room and not the window.
- Auto exposure bracketing, 2-stop steps. HDRsoft, the maker of Photomatix, recommends 2-stop spacing: three frames at −2, 0 and +2 for a scene of ordinary contrast, and at least five frames 2 stops apart for an interior with a bright window in view.
- Flash off. A flash left on changes how a camera brackets, or stops it: Canon's EOS R6 Mark III manual, for example, says auto exposure bracketing is not available in flash photography.
- Self-timer or remote. A 2-second timer lets the tripod settle. A remote or the camera maker's phone app fires the set from outside the room when mirrors are in view.
Shoot raw, and if the body has two card slots, write every frame to both. Bracketing menus differ by model: the Canon EOS R6 Mark III shoots 2, 3, 5 or 7 frames across up to ±3 EV, and the Sony a7 V lets the step and frame count be chosen in its drive menu. The guide to cameras for real estate photography covers both.
Canon RF body for the kit
Canon EOS R6 Mark III (RF-mount body)
A 32.5 MP full-frame body with two card slots that brackets 2, 3, 5 or 7 frames.
- 32.5 MP full frame
- 2/3/5/7-frame AEB
- CFexpress B + SD
Good for
- Canon RF lens owners
- Five-frame sets for bright windows
Skip it if
- A capable full-frame body is already in the bag
Shooting the house room by room
Work in one direction
Start inside, so nothing from a wet yard is tracked through the house, and begin at one end and work toward the other. Jumping around is how a room gets forgotten.
Height and level
Keep the camera low, at about the height of a standard light switch (roughly 48 inches from the floor) or a little below, and level it so walls and door frames stay vertical. Raise the tripod in two cases: to see over the back of a sofa, and in kitchens, where a low camera shows mostly countertop. In a kitchen, go up until the undersides of the upper cabinets disappear.
Where to stand
Back into a corner or shoot from the doorway or hall to show as much of the room as possible, and aim to get three walls in the frame. Mix two kinds of shot: straight-on views square to a wall, and angled views from a corner. Pick one or the other; a nearly square view looks like a mistake. Point the camera toward a selling feature such as a pool or a water view.
How many photos per room
Large rooms such as the living room, kitchen and dining room get two to five photos each. Ordinary bedrooms, bathrooms and laundry rooms get one. The primary bedroom and bathroom get two. Turning down weak angles on site beats sorting 80 photos later.
Check each set
Look at the bracket on the screen before moving the tripod. If the middle frame is too bright or too dark, change the shutter speed, reshoot and delete the bad set so the editor sees one set per view. In bathrooms, start the timer and step out of the mirror. Fold the tripod legs in before walking between rooms.
Exterior
Every shoot needs a front elevation: a straight-on view of the front of the house. Add an angled front view, the entry and the back yard. Set the camera higher outside than indoors and set the white balance for the conditions, daylight on a sunny day.
A first shoot of about 25 photos can take two hours. With experience it takes 20 to 40 minutes.
Common mistakes
- Too few frames for the windows. If the darkest frame still shows blank white glass, the set does not reach far enough. Use five frames, or add a flash frame as described below.
- Tilting the camera. Tilting up or down makes walls and door frames lean. Allow it for one deliberate shot in a house at most, such as a staircase or chandelier. Small errors can be corrected in editing, along with the barrel distortion of a wide lens, and a shift lens solves the problem optically.
- Forgetting to lower the tripod after the kitchen, which puts the next rooms at the wrong height.
Widest view for small rooms
Sony FE 12-24mm F4 G (Sony E-mount)
An ultra-wide zoom that fits tight bathrooms at 12 mm and ordinary rooms at 16 to 24 mm.
- 12-24 mm
- f/4
- 565 g
Good for
- Homes with small or awkward rooms
- A whole house without a lens change
Skip it if
- A polarizer is part of the workflow
HDR vs. flash-plus-ambient
HDR is built only from the light already in the room, and that is its weakness. Blue daylight from tall windows, warm bulbs and wood paneling all tint the walls, and the edit has to pull saturation down to hide the casts, which leaves wood and fabrics looking flat.
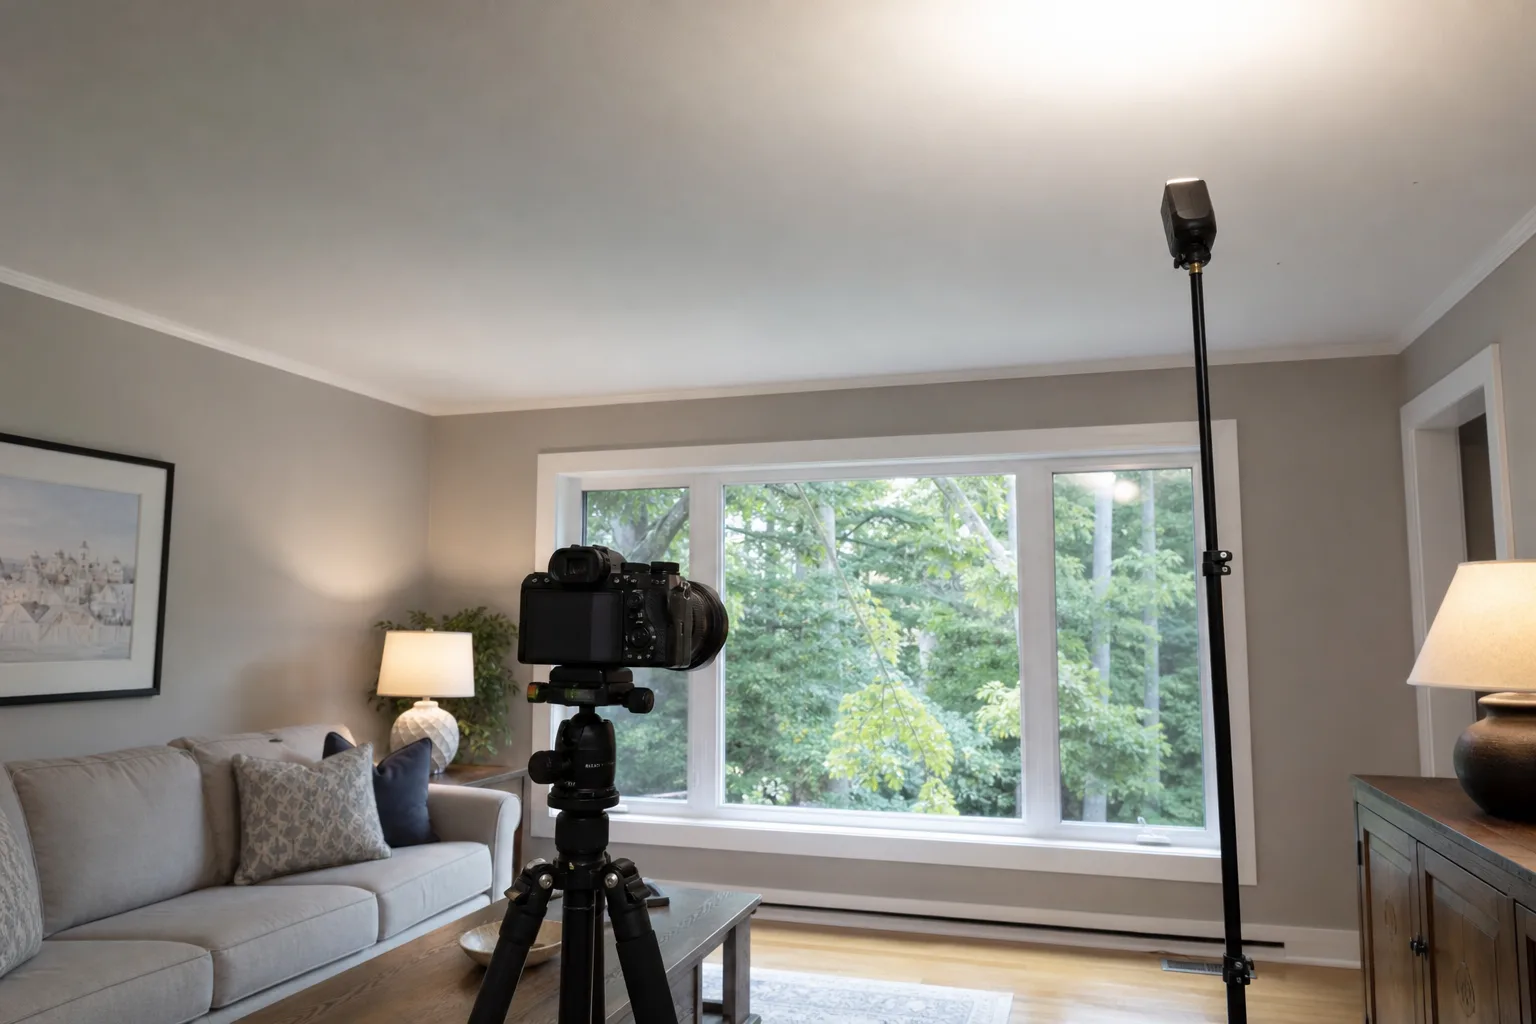
The flash-plus-ambient method adds frames lit by a flash and blends them with an ambient frame. The flash supplies neutral light, so color needs little correction, shadows are controlled and window views hold. It takes longer in each room and less time in editing, so the total is about even for someone who edits their own work. HDR brackets are also simple to hand to an editing service.
The two methods combine well: one flash frame aimed at the window wall, blended into an HDR set, restores the view through the glass and adds only seconds per room. Plain HDR remains the practical choice for very large spaces, such as commercial interiors and condo amenity rooms, where lights are hard to carry and time is short.
Gear picks for an HDR kit
These are example picks for each part of the kit, chosen from Amazon listings by their specifications and availability to fit the workflow above. They illustrate each category and are not a ranking.
Camera body
A 24-megapixel full-frame body is enough for listing work, and two card slots give every frame an automatic backup. The Sony a7 V and the Canon EOS R6 Mark III both exceed that.
Sony body for the kit
Sony a7 V (E-mount body)
A 33 MP full-frame body with two card slots and a screen that tilts up for low tripod positions.
- 33 MP full frame
- Dual card slots
- 4-axis screen
Good for
- Sony FE lens owners
- Stills and walkthrough video on one body
Skip it if
- A capable full-frame body is already in the bag
Canon RF body for the kit
Canon EOS R6 Mark III (RF-mount body)
A 32.5 MP full-frame body with two card slots that brackets 2, 3, 5 or 7 frames.
- 32.5 MP full frame
- 2/3/5/7-frame AEB
- CFexpress B + SD
Good for
- Canon RF lens owners
- Five-frame sets for bright windows
Skip it if
- A capable full-frame body is already in the bag
Ultra-wide lens
A full-frame zoom that starts at 16 mm or wider covers most rooms from a corner. The Sony FE 12-24mm F4 G reaches the smallest bathrooms but has no front filter thread. The Canon RF14-35mm F4 L IS USM takes 77 mm filters, so it accepts a circular polarizer, which reduces reflections on glossy floors. Nikon Z and other options are in the guide to lenses for real estate photography.
Widest view for small rooms
Sony FE 12-24mm F4 G (Sony E-mount)
An ultra-wide zoom that fits tight bathrooms at 12 mm and ordinary rooms at 16 to 24 mm.
- 12-24 mm
- f/4
- 565 g
Good for
- Homes with small or awkward rooms
- A whole house without a lens change
Skip it if
- A polarizer is part of the workflow
Canon RF zoom that takes filters
Canon RF14-35mm F4 L IS USM (Canon RF-mount)
A 14-35 mm zoom for RF bodies with a 77 mm thread for a polarizer.
- 14-35 mm
- f/4
- 77 mm filters
Good for
- Canon RF bodies
- Rooms with glossy floors
Skip it if
- The camera is not an RF-mount body
Tripod and geared head
Full-size carbon fiber legs with twist locks are the first choice for bracketed work: they are the steadiest base and last for years of daily use. Travel tripods are shorter and thinner-legged, so they are less steady under a camera, lens and geared head. A compact set such as the Peak Design Travel Tripod accepts that trade-off to fit into tight rooms and carry easily; give it a moment to settle and fire with the timer.
A three-way geared head gives finer control over level than a ball head. The Benro GD3WH and the K&F Concept 3-Way Geared Tripod Head work the same way, and both hold up for years when used correctly: turn the outer ring on each axis for large moves and the inner knob for fine ones. Cranking the fine knob through a big move is what makes these heads bind. The guide to tripods and geared heads compares them.
Compact legs for tight rooms
Peak Design Travel Tripod (Carbon Fiber)
Carbon fiber travel legs with a built-in ball head that give up height and stiffness for a small footprint.
- Up to 60 in
- About 2.8 lb
- 20 lb load rating
Good for
- Small bathrooms and stairs
- Carrying a light kit
Skip it if
- The steadiest base for brackets is the priority
- A geared head will go on top
Geared head with bubble levels
Benro GD3WH Precision Geared Head
A three-way geared head with a knob for each axis and three bubble levels for leveling the camera.
- 13.2 lb load rating
- 3 bubble levels
- Arca-type clamp
Good for
- Keeping verticals straight room after room
- Full-size tripod legs
Skip it if
- A ball head is already working well
Geared head in machined aluminum
K&F Concept 3-Way Geared Tripod Head
A three-way geared head with the same outer-ring and fine-knob control on each axis.
- 13.2 lb load rating
- 1.8 lb
- CNC-machined aluminum
Good for
- Fine framing from a fixed tripod position
- Full-size tripod legs
Skip it if
- A ball head is already working well
Flash for the hybrid method
A 200 Ws pocket strobe is a common everyday light for window frames and for flash-plus-ambient work in houses. The Godox AD200Pro II is that size. Once a light goes on a stand, pick an air-cushioned stand that reaches about 9 feet, and carry a shoot-through umbrella for rooms with wood or very tall ceilings, where bouncing does not work. The guide to flashes for real estate photography covers power and setup.
Flash for window frames
Godox AD200Pro II Pocket Flash
A 200 Ws battery strobe small enough to carry through a house for window frames and flash-plus-ambient blends.
- 200 Ws
- 500 full-power flashes
- 16 radio groups
Good for
- Adding a window frame to HDR sets
- Learning flash-plus-ambient
Skip it if
- Every job will be shot as plain HDR
Small items that save a shoot
Pack spare batteries, a remote, and two memory cards. A 32 GB card holds a full shoot from a 24-megapixel camera. A hard case with water resistance protects the kit better than a soft bag on the trip from the car to the door.
Where to start
- Agents and owners shooting their own listing: a camera that brackets, a wide zoom, a steady tripod and the settings above.
- Photographers building a working kit: full-size legs, a geared head and two card slots come before a body upgrade.
- Homes with strong color casts or important views: add one flash and learn the window frame, then the full flash-plus-ambient blend.
Posted by Kristopher Larson
Frequently asked questions
What camera settings are used for HDR real estate photography?
A widely used starting point: set the lens to around f/8, fix the ISO at a low setting between 100 and 400 with auto ISO off, and let only the shutter speed change between frames. Use auto exposure bracketing in 2-stop steps, turn the flash off, and fire the set with a self-timer or remote from a level tripod.
How many bracketed photos does an interior need?
Three frames 2 stops apart (−2, 0 and +2) cover most rooms. When a bright window is in the frame, HDRsoft, the maker of Photomatix, advises at least five frames 2 stops apart, or nine frames 1 stop apart on cameras that cannot bracket in 2-stop steps.
Should the lights be on or off for real estate photos?
On is the common choice for HDR listings, including lamps and under-cabinet lights. What matters most is consistency: if the lights are on in one room, keep them on in every room. Ceiling fans should be off so the blades do not blur.
Is HDR or flash better for real estate photography?
Flash-plus-ambient gives more accurate color, controlled shadows and clearer window views, but takes more time and gear in each room. HDR is faster on site and needs no lights, but color casts take more work in editing. Many listing shoots use HDR with one flash frame added for the windows.
How high should the tripod be for interior photos?
About the height of a standard light switch, roughly 48 inches from the floor, or a little below for most rooms, with the camera level so walls stay vertical. Raise it in kitchens until the undersides of the upper cabinets are out of view, and whenever a sofa back blocks the room. Exteriors are usually shot from a higher position.
How many photos does a real estate listing need?
About 25 to 30 for a typical house. Large rooms such as the kitchen and living room get two to five photos each, ordinary bedrooms and bathrooms get one, and the primary bedroom and bathroom get two. The front of the house, straight on, is always included.
Keep reading
More from the blog
Best Indoor Air Quality Monitor: Aranet4 vs. Airthings View Plus vs. Qingping vs. Amazon
Instax vs. Polaroid: Which Instant Camera to Buy
Reencle vs. FoodCycler vs. GEME: Which Electric Kitchen Composter Actually Makes Compost?