
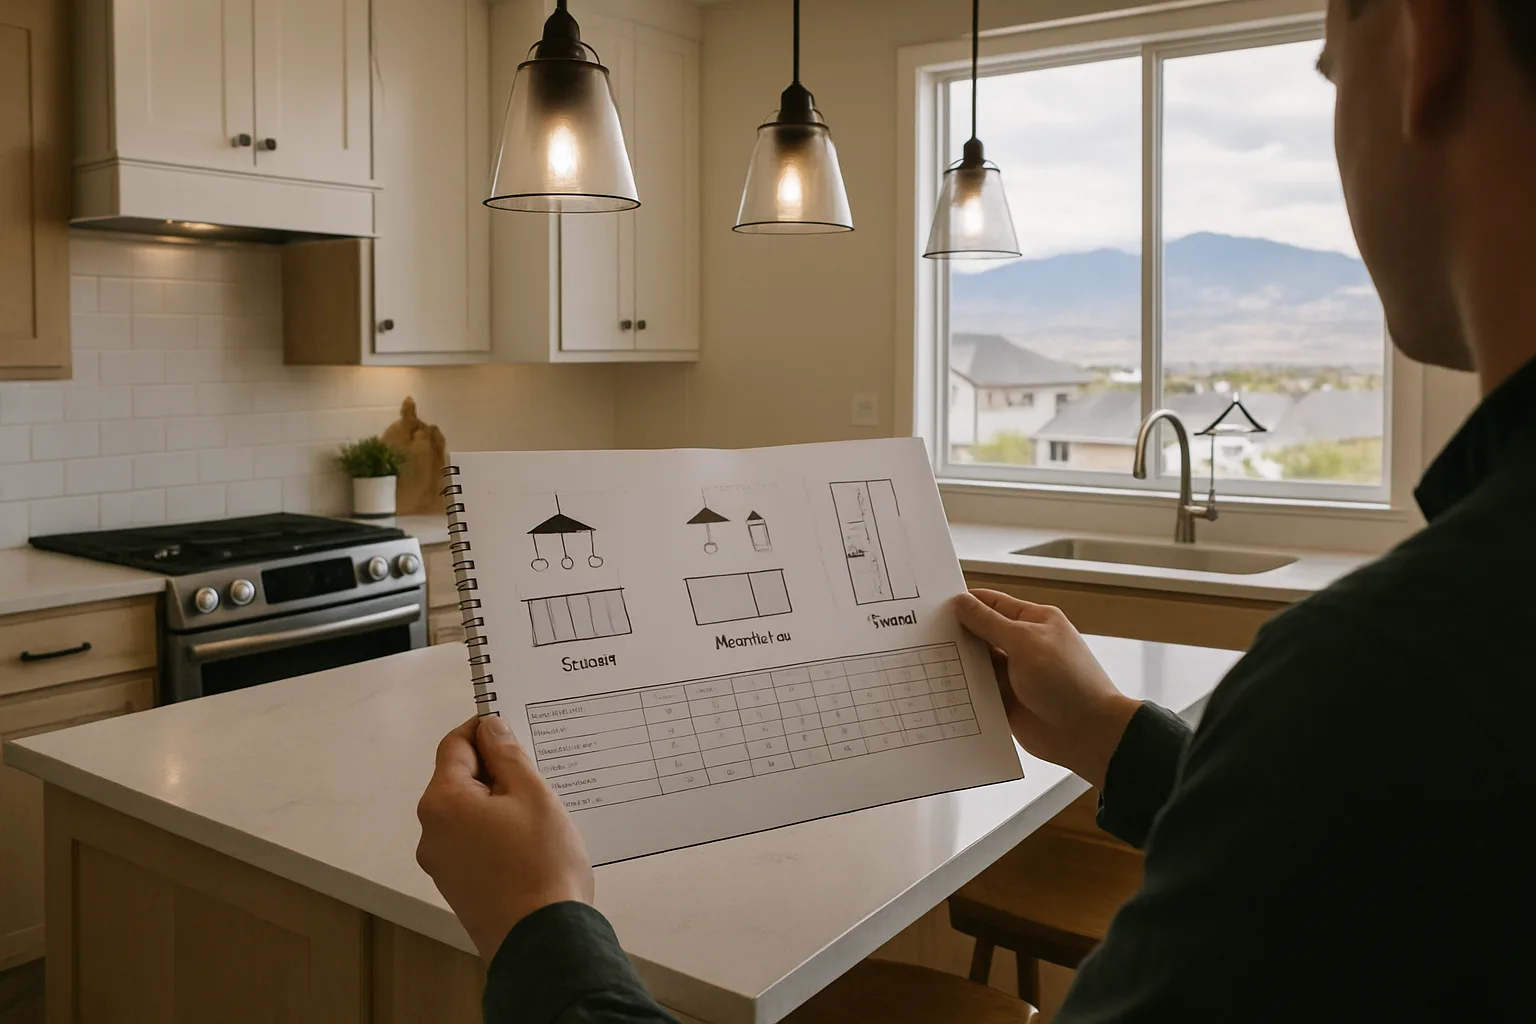
Kitchen Lighting Ideas for Islands, Peninsulas, and Galley Layouts
Island, peninsula, and galley kitchens each need a different lighting plan. This guide breaks down fixture placement, spacing, height, and switching for every layout, plus a quick-reference table of the numbers.
Why Layout Beats Style as the First Question
Most kitchen lighting advice assumes a large island under a high ceiling. Real kitchens come in three dominant layouts — island, peninsula, and galley — and each one puts the light in a different place, hides different shadows, and rewards a different fixture. Getting the layout right first saves the most common kitchen lighting money mistake: buying island pendants for a kitchen that doesn't behave like an island kitchen.
Lighting exists to put light where hands work and to give the eye a center, and both jobs depend on where the counters are. An island kitchen has a free-standing work surface with people on all sides; a peninsula has one attached end and a wall behind the cook; a galley has two parallel runs and a corridor between them. The shadows fall differently in each, the natural focal point sits in a different place, and the fixtures that solve one layout create glare or dead zones in another. The infographic maps the three.
Light Placement by Kitchen LayoutWhere the counters go decides where the fixtures goISLAND2–3 pendants or 1 linear30–36 in above counter24–30 in between pendantsFocal point: the islandPerimeter counters getunder-cabinet task lightPENINSULA1–2 pendants, weightedtoward the free endNever over the attached cornerFocal point: the seating endCook faces a wall — adda light over the cooktop zoneGALLEYRow of flush / semi-flushdown the corridor centerlineSpaced 4–6 ft apartFocal point: the far endUnder-cabinet strips onboth runs — non-negotiableAll three layouts share one rule: task light at 3000K under every cabinet, decorative light at 2700K overhead, each on its own dimmer.
Island Kitchens
The island is the layout the standard advice was written for, and it earns the standard treatment: two to three pendants or one linear fixture centered on the island's long axis, bottoms 30–36 in (76–91 cm) above the counter, pendants spaced 24–30 in (61–76 cm) apart with outer pendants at least 6 in (15 cm) inside the island's ends. The island is the kitchen's natural focal point, so its fixtures carry the decorative load; perimeter counters run on under-cabinet strips, and general fill comes from recessed cans spaced roughly half the ceiling height apart. The island-kitchen error is scale: pendants sized for a catalog photo, not the actual island — a 7 ft (213 cm) island wants either three 10–12 in (25–30 cm) pendants or one 40–48 in (102–122 cm) linear, not two small globes drifting in space.
Peninsula Kitchens
A peninsula behaves like half an island. One end attaches to the perimeter run, the other end hosts seating, and the cook typically works facing a wall or the seated guests. Fixture placement shifts accordingly: one or two pendants weighted toward the free end where seating and conversation happen, and never over the attached corner, which is where the fixture would collide with upper cabinets and light nothing useful. The peninsula's hidden problem is the cook's own shadow — working at a wall-facing counter under a centrally placed fixture puts the body between the light and the work. A dedicated fixture or recessed light over the cooktop and prep zone, plus under-cabinet strips along the attached run, solves it. Peninsulas also tend to sit in smaller kitchens with 8 ft (2.4 m) ceilings, which makes low-profile pendants and semi-flush fixtures the practical choice — a common setup in the compact floor plans found in many St. George casitas and attached suites.
Galley Kitchens
The galley is the layout most often lit wrong, usually with a single center fixture that leaves both counter runs in shadow. The corridor between the runs is a walkway, not a work zone, so pendants hanging there are in the way and lighting the floor. The correct solution is a row of flush or semi-flush fixtures down the corridor's centerline, spaced 4–6 ft (1.2–1.8 m) apart, with under-cabinet strips on both runs doing the real work — in a galley, under-cabinet lighting is not an accent but the primary task layer. The focal point moves to the far end of the corridor: a window, a small pendant over a sink, or a single decorative semi-flush at the terminus gives the eye a destination and lengthens the space visually.
The Numbers by Layout
Layout | Decorative Fixture | Spacing / Height | Task Layer | Watch Out For |
Island | 2–3 pendants or 1 linear | 30–36 in above counter; 24–30 in apart | Under-cabinet strips on perimeter | Undersized pendants |
Peninsula | 1–2 pendants toward free end | 30–36 in above counter | Cooktop light + strips on attached run | Cook's shadow; upper-cabinet collision |
Galley | Row of flush / semi-flush | 4–6 ft apart on centerline | Strips on both runs (primary) | Pendants in the walkway |
L-shape / U-shape | Pendant or semi-flush at the corner's diagonal | Center of the work triangle | Strips on every run | Dark inside corners |
The Switching Plan Every Layout Needs
Placement solves shadows; switching solves how the kitchen is actually used. Each layout needs a minimum of three independently dimmable circuits — under-cabinet task light, general fill, and the decorative fixtures — so the room can move from full cooking brightness to a dinner setting with the task strips off, fill at 30–50%, and the pendants or flush row at 40–60%. Galleys can merge fill and decorative into the flush row and still keep the strips separate; peninsulas benefit from a fourth circuit for the cooktop zone. Smart dimmers with saved scenes earn their cost in kitchens more than in any other room, because the same three settings get used every single day.
Choosing Fixtures That Survive the Layout
Whatever the layout, kitchen fixtures live with grease, steam, and daily cleaning, so simple surfaces, damp-location ratings near sinks, and finishes that wipe clean — glass, matte black, brushed brass — outlast intricate designs. Layout also narrows the search usefully: island kitchens shop for pendant sets and linears, peninsulas for compact single pendants, galleys for semi-flush rows. Starting from a range of kitchen pendant and island lighting rather than a general catalog keeps drop lengths, wet-area ratings, and cleanable forms already filtered, which matters most in the peninsula and galley cases that generalist stores barely serve. Buyers remodeling a fixer-upper kitchen before move-in can pair fixture planning with the phased budgeting covered in our fixer-upper remodel tips for first-time buyers, and anyone deciding whether cabinet or lighting upgrades pay off before listing should also read how to make your home more appealing before selling it.
Light the Layout You Have
Island, peninsula, and galley kitchens are three different lighting problems wearing one label. The island wants pendants centered on its axis; the peninsula wants light weighted to its free end and a fix for the cook's shadow; the galley wants a flush row overhead and under-cabinet strips doing the heavy lifting. Match the fixture to the layout before matching it to the style, and every kitchen gets the two things all three have in common: hands that can see what they're doing, and an eye that knows where to look.
Frequently asked questions
How many pendant lights should hang over a kitchen island?
Why does my galley kitchen still look dark with a center light?
What's the best light color temperature for kitchen task lighting?
Where should pendant lights go over a peninsula counter?
How many separate light circuits does a kitchen actually need?
Should kitchen light fixtures near sinks be rated for wet locations?
Keep reading
More from the blog

2034 Winter Olympics in Utah: Which Cities and Projects to Watch Before Buying (2026)
Multi-Tier Outdoor Layouts That Boost Backyard Property Value

How to Vet a Home Services Contractor in Utah