
Fixer-Upper Remodel Tips Every First-Time Buyer Should Know
A practical guide for first-time buyers tackling a fixer-upper, covering realistic budgeting, phased renovation planning, and knowing which repairs to DIY versus hire out.
Buying a fixer-upper home brings huge potential to build equity right away. First-time buyers often jump in with high energy and minimal preparation. Understanding clear remodeling strategies turns a dated property into a personal living space without financial strain. Smart decisions made before demolition begins save money, time, and sanity throughout the process.
Establish a Realistic Renovation Budget First
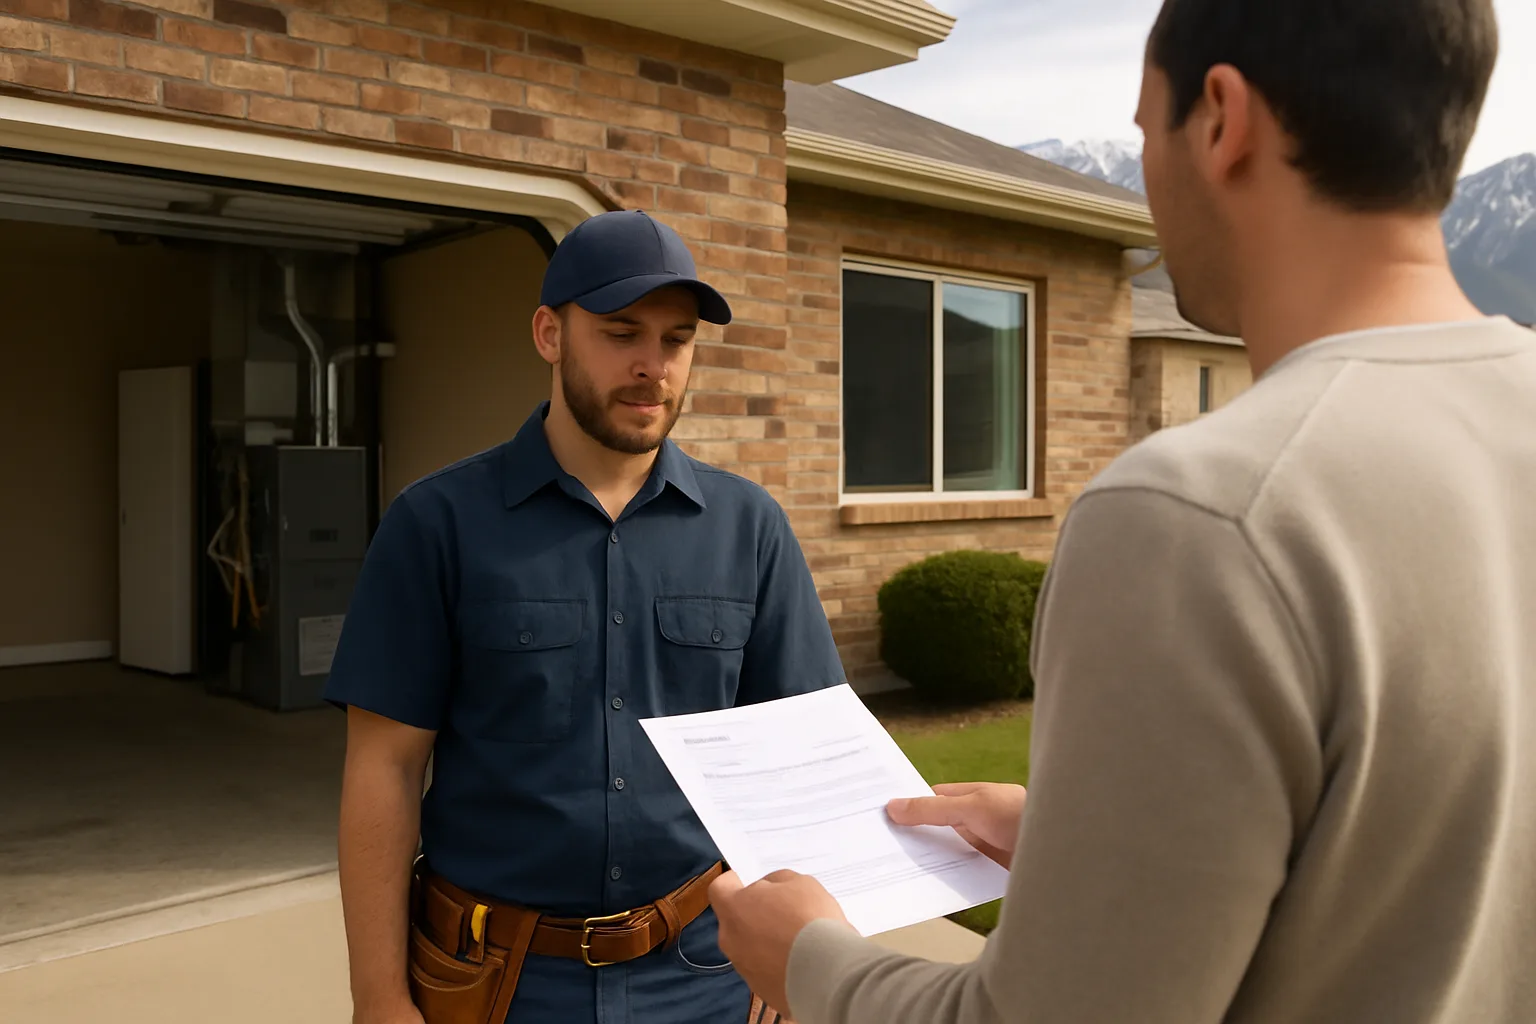
Every successful home overhaul starts with strict financial boundaries. Working alongside a licensed home remodeling contractor early in the planning stage prevents costly surprises during demolition. Setting clear budget caps keeps design goals aligned with practical bank account realities. Before you even make an offer, it also helps to evaluate the property's amenities and condition so your renovation budget reflects reality, not guesswork.
Unexpected structural issues or hidden plumbing leaks quickly erode original cost estimates. Adding a safety cushion of 15% to 20% protects personal savings when structural surprises pop up behind drywall. Planning for extra expenses keeps projects moving forward without stopping mid-way from depleted funds.
Managing quotes from several suppliers helps establish clear market pricing for materials. Comparing material options side by side prevents overspending on luxury finishes before basic structural tasks get funded. Keep a spreadsheet tracking every purchase down to hardware and trim.
Prioritize Structural Repairs Over Cosmetic Upgrades
Fixing basic structural and mechanical components takes top priority over granite countertops or new tile. National industry research indicates annual spending on homeowner improvements and maintenance is expected to reach $466 billion through the second quarter of next year. Secure roofs, functional wiring, and modern heating systems protect the structure before stylish upgrades start.
Ignoring foundational problems to focus on paint colors risks major structural damage later on. Prioritizing dry space and foundation integrity prevents money from leaking away through emergency fixes down the line. Cosmetic changes can wait until critical home systems run smoothly. If the roof is questionable, it's worth reading up on what to know before buying a house with an old roof before you commit to a purchase price.
Old windows and insulation upgrade comfort and cut monthly utility costs. Investing in efficiency improvements upfront yields lower energy bills during the entire period of homeownership. Energy savings offset initial installation costs across the first few years.
Plan Renovations in Distinct Phases
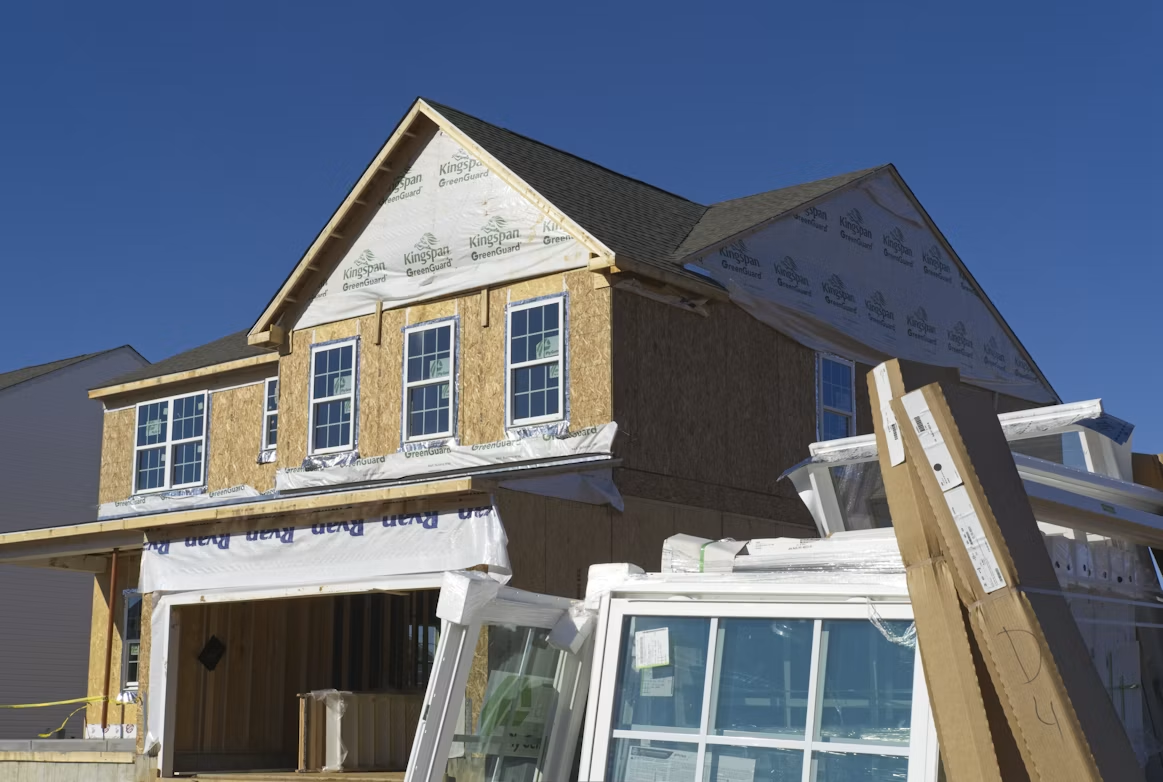
Attempting to renovate every room simultaneously causes massive chaos and construction burnout. Phasing out projects keeps living conditions manageable throughout the entire overhaul.
Phase 1: Fix urgent safety hazards, leaking roofs, outdated wiring, and main plumbing lines.
Phase 2: Remodel high-use interior spaces including primary kitchens and main living bathrooms.
Phase 3: Paint interior walls, refinish flooring, replace trim, and complete exterior landscaping.
Spacing out construction tasks allows cash reserves to recover between major expenditures. Living in the property for 3 to 6 months reveals daily routines before removing walls. Experiencing space flows firsthand prevents design choices that look good on paper but fail in daily life.
Avoid Over-Customization and Over-Budgeting
Sticking to standard layout dimensions prevents construction costs from skyrocketing unexpectedly. Data from industry tracking studies reveals 39% of homeowners exceed their renovation budget from unexpected costs. Keeping load-bearing walls and plumbing stacks in place saves thousands on structural engineering.
Choosing classic, timeless materials maintains future resale appeal and stays inside target pricing limits. Highly trendy fixtures and custom built-ins rarely yield full financial return during future property sales. Neutral surfaces provide a clean backdrop that personal décor updates easily. A well-planned living room design that adds resale value is a good example of this timeless-over-trendy approach.
Avoid buying expensive specialty tools for single-use tasks during early construction phases. Renting heavy machinery or borrowing specialty tools keeps initial overhead low. Reinvesting saved rental money back into durable raw materials pays off in long-term durability.
Differentiate DIY Tasks from Professional Work
Painting walls, installing basic light switch plates, and removing old carpets make great DIY tasks for beginners. Taking on surface updates saves substantial labor fees without risking structural damage. Weekend projects build hands-on experience and create personal investment in the project.
Assembling flat-pack cabinets or installing simple laminate flooring can stay in-house too. Taking time to measure carefully minimizes waste and keeps material expenses low. Simple DIY accomplishments keep projects moving between major contractor visits.
Hiring Trade Experts for Complex Systems
Electrical main panels, gas plumbing lines, and load-bearing walls require certified master tradespeople. Attempting complex utility work without licensing risks code violations and safety hazards. Professional work comes with permits, warranties, and insurance protection that safeguard property value. For bigger renovations, comparing how to book home repairs through apps versus marketplaces can help you find licensed pros without overpaying.
Proper permits protect home values during future real estate transactions. Unpermitted work creates major headaches when inspectors evaluate the property for future buyers. Hiring certified pros guarantees compliance with local municipal building codes.
Maintain Clear Communication and Timelines
Daily check-ins with tradespeople keep project timelines aligned with initial expectations. Documenting every design alteration with written change orders prevents billing confusion later. Clear communication sets mutual expectations for working hours, cleanup, and site access.
Material shipping delays standardly push back estimated completion dates during multi-room projects. Ordering long-lead items like custom windows or cabinetry months in advance prevents work stoppages. Storing supplies on-site keeps materials ready when installation dates arrive.
Building extra time padding into your schedule protects personal health and sanity. Expecting minor delays eliminates frustration when weather or supply chains disrupt construction. Flexibility allows homeowners to handle unexpected bumps with clear minds.
Transforming a fixer-upper requires patience, clear budgeting, and balanced expectations. Staying organized through each construction phase turns dated properties into valuable long-term equity. Focused decision-making helps first-time buyers build a customized home safely and comfortably. Once your renovation is complete, understanding why comparable home sales matter when pricing your home will help you see the true equity gain from your work.
Frequently asked questions
How much extra should I budget for a fixer-upper renovation?
What should I fix first in a fixer-upper home?
Is it better to renovate a fixer-upper all at once or in phases?
Which renovation tasks can I safely DIY as a first-time homeowner?
Do I need permits for a fixer-upper remodel in Utah?
How long does it typically take to renovate a fixer-upper?
Keep reading
More from the blog

Utah's 2026 Housing Laws: What Passed, What Failed and What Changes for Buyers

2034 Winter Olympics in Utah: Which Cities and Projects to Watch Before Buying (2026)

Multi-Tier Outdoor Layouts That Boost Backyard Property Value