
How to Measure and Replace an Odd-Size Window Without Guessing
Odd-size window openings are common in homes built before 1980. This guide walks through how to measure a non-standard rough opening correctly, when to buy stock versus custom, and how to install the replacement so the flashing (not just the window) actually works.
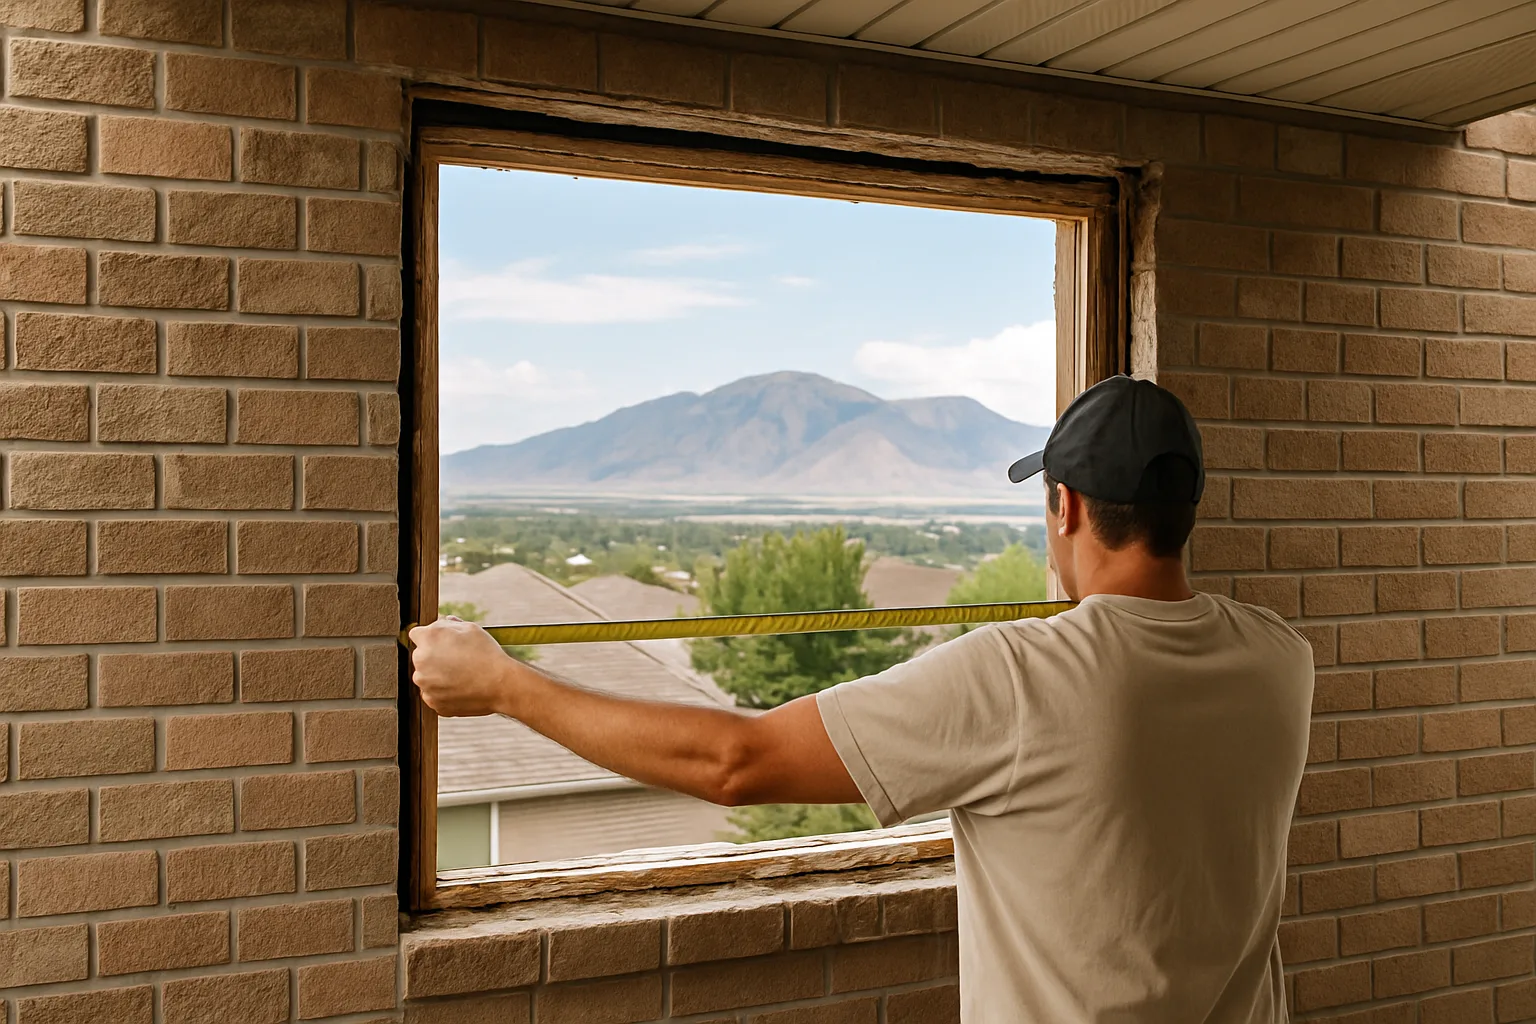
Twenty-nine inches wide. That is what the tape said when I measured the window in my grandmother's 1953 ranch house last spring. Not 28, not 30. Twenty-nine. That number sat there on the paper like a dare, because no big-box store near me stocks that size, and the quote I got from one installer started at $1,400 for a custom unit. So I did what I usually do: I learned the whole process myself.
Most homes built before 1980 have at least one window opening that refuses to match a standard catalog size. Rough openings were cut by hand, framing crews weren't fussy, and decades of settling made every inch slightly different. But an odd-size window is not a crisis. It is a measurement problem with a measurement solution. Here is the exact sequence I used, and what I would tell any Utah homeowner facing the same situation — including anyone tackling a broader fixer-upper remodel where windows are just one item on a long list.
Why So Many Window Openings Don't Match the Catalog
Standard replacement windows come in width increments of a few inches because factories build to the most common rough openings in newer tract housing. When your home predates that standardization, the opening you have is simply the opening you have. According to HUD, a large share of the American housing stock predates modern energy codes, and those older homes routinely carry non-standard framing dimensions. If you also factor in that wood shrinks and settles over decades, an opening measured twenty years ago would not match today anyway.
Here is the thing I wish someone had told me: measure the window, not the trim. Half of my early confusion came from measuring the decorative casing and the sill nose. Those are finish carpentry, not structure.
How Do You Measure an Odd-Size Window Opening Correctly?
Take the measurement in three places on each dimension, then use the smallest number for the width and the smallest for the height. Never average. If your opening has a high spot in the framing, the window has to fit that high spot or it will jam.
Remove the interior stops and pull out the sash if you're replacing the whole unit.
Measure width at the top, middle, and bottom of the rough opening.
Measure height at the left, center, and right.
Measure the depth of the opening from interior face to exterior face.
Record the smallest width and the smallest height, in that order.
If you're ordering a window that ships with a nailing fin, your measurement should be about a half inch smaller than the rough opening in both directions to leave room for shimming. If it's a pocket-style replacement that fits inside the existing frame, measure the inside face of the frame, not the rough opening at all. Those are opposite dimensions and mixing them up is the single most expensive mistake in this job. Write the numbers down in the format the manufacturer uses: width first, then height. That sounds obvious until you're on the phone with a supplier and you read them backward.
Standard Sizes Exist for a Reason, So Use Them When You Can
Manufacturers publish size charts, and a surprising number of "odd" openings actually land on one of those sizes once you measure correctly. Before you pay for custom fabrication, check the chart. I nearly ordered a custom unit until I realized my 29-inch opening was within a quarter inch of a stock size, and the manufacturer's tolerance covered it.
Custom sizing isn't a scam, it's just expensive because the factory stops the line. If your opening is more than an inch off any listed size, custom is the honest answer. If you're within half an inch, stock plus careful shimming usually works.
This is also where a plain economical unit earns its keep. An aluminum double hung window 24x36 is a good example of a pre-sized unit that already matches a very common small-bathroom or utility-room opening, which saves you the custom premium if your measurement lines up. Small bath windows, laundry rooms, and garage walls are where these tighter dimensions show up most, and that's exactly where a simple stock unit makes sense.
Installation Order Matters More Than Speed
Anyone can push a window into a hole. Not everyone gets the flashing right, and water is the reason replacement windows fail. According to the National Institute of Standards and Technology, moisture intrusion is one of the leading causes of premature building envelope failure, so the sequence below is not optional. If you're evaluating an older home's overall envelope before you buy, it's worth pairing this with a roof inspection checklist since roof and window flashing failures often show up together.
My order of operations, in plain terms:
Dry-fit the unit in the opening before you caulk anything.
Shim at load-bearing points only, then check the unit for square with a level on both diagonals.
Set the window, then nail or screw per the manufacturer's schedule.
Flashing tape goes on the exterior before any trim or siding returns.
Low-expansion foam goes in the gap last, not the expanding kind that can bow the frame.
Interior trim and paint come after the exterior is fully sealed.
Two of those steps are where I'd tell you to slow down. Shim placement determines whether the window operates in five years. Flashing determines whether the wall behind it stays dry. Everything else can be fixed with a screwdriver and a paintbrush.
A Short Checklist Before You Order
Run this list before you pull out your credit card. You'll save yourself a return shipment and a week of a plywood-covered hole in the wall.
Smallest width, smallest height, in writing.
Depth of the opening at the shallowest point.
Interior measurement if you're going pocket style, rough opening if you're going full frame.
Confirm which direction the unit opens and where the latch sits.
Check that the manufacturer's tolerances cover your measurement.
Verify the screen or grille you ordered actually ships with the unit.
The depth measurement gets skipped constantly and it's the one that ruins a weekend. A window that's too shallow lets the exterior casing sit proud of the siding. Too deep and you can't get trim flush on the inside.
What This Actually Costs You in Practice
According to the U.S. Department of Energy, windows account for a meaningful share of a home's heating and cooling load, which means the upgrade usually pays back part of itself over time through lower utility bills. That's worth remembering when the custom quote makes your eyes water. A single odd-size window is not just a cosmetic fix. It's a small piece of a much larger efficiency picture, and replacing one badly performing unit is a reasonable place to start — the same logic that applies when weighing full replacement window costs across an entire house.
My total cost on the ranch house window came in around $340 including the unit, shims, flashing tape, and a can of low-expansion foam. That was roughly a quarter of the installer quote, and the process took about four hours with a second person helping lift the sash. The part I'd do differently next time: I'd measure the depth first, before I ordered anything, because I ended up making a second trip to the store for trim I hadn't planned on. If you're buying a fixer-upper with several odd-size openings, this is also a good detail to flag among the home-buying details buyers often overlook before closing.
If you've got a window that doesn't match a catalog, you now have the sequence. Grab a tape measure and a pencil, measure three places on each dimension, and write down the smallest numbers. Do that much and the rest of the job stops being intimidating and starts being a Saturday project.
Frequently asked questions
How much does it cost to replace a non-standard size window?
What is considered a standard window rough opening size?
Should I measure the rough opening or the window trim?
Do I need a permit to replace a window in Utah?
What is the biggest mistake people make replacing an odd-size window?
Is it worth replacing just one window instead of the whole house?
Keep reading
More from the blog

Protect Your Family Online While Searching for Utah Homes
Shower Curtains for Utah Short-Term Rentals: A Buyer's Guide

Easy Steps to Building a Pond in Your Backyard
