How to Properly Prep Siding Before Painting: Steps That Matter
Surface prep determines how long exterior paint lasts. Learn the steps for cleaning, scraping, repairing, caulking and priming siding, plus tips for Utah's sun and freeze-thaw climate.
The lifespan and appearance of any exterior paint job is determined more by surface preparation than by the paint itself. Here's what proper prep actually involves.
Ask any experienced exterior painter what separates a paint job that looks great for ten years from one that starts failing in three, and the answer is almost always preparation. The paint is the visible part of the equation, but the substrate it goes onto determines how well it bonds and how long it lasts. Adequate preparation takes time and isn't glamorous, but it's the work that actually matters.
Homeowners who are overseeing a painting project or doing the work themselves often want to skip or shortcut preparation because it doesn't produce the visible progress that applying paint does. Contractors who underbid projects often cut preparation first. Both approaches produce the same result: a paint job that looks good briefly and fails prematurely.
Cleaning: Removing What Prevents Adhesion
The first preparation step for any exterior surface is thorough cleaning. Dirt, mold, mildew, chalk, and contaminants on the surface all prevent paint from adhering properly. Pressure washing is the standard method for removing these contaminants before painting. The correct pressure and technique matter: too high a pressure can damage wood siding, force water into seams, or blast loose the texture of stucco. Professional exterior painting Waco TX contractors pressure wash at appropriate pressures for each surface type.
Mold and mildew on siding require specific treatment beyond pressure washing alone, because water alone doesn't kill mold spores. A cleaning solution with appropriate mildewcide, left on for the manufacturer-recommended contact time before rinsing, kills the organisms rather than just removing visible surface growth. Painting over live mold produces new mold growth under and through the new paint.
Scraping and Removing Failed Paint
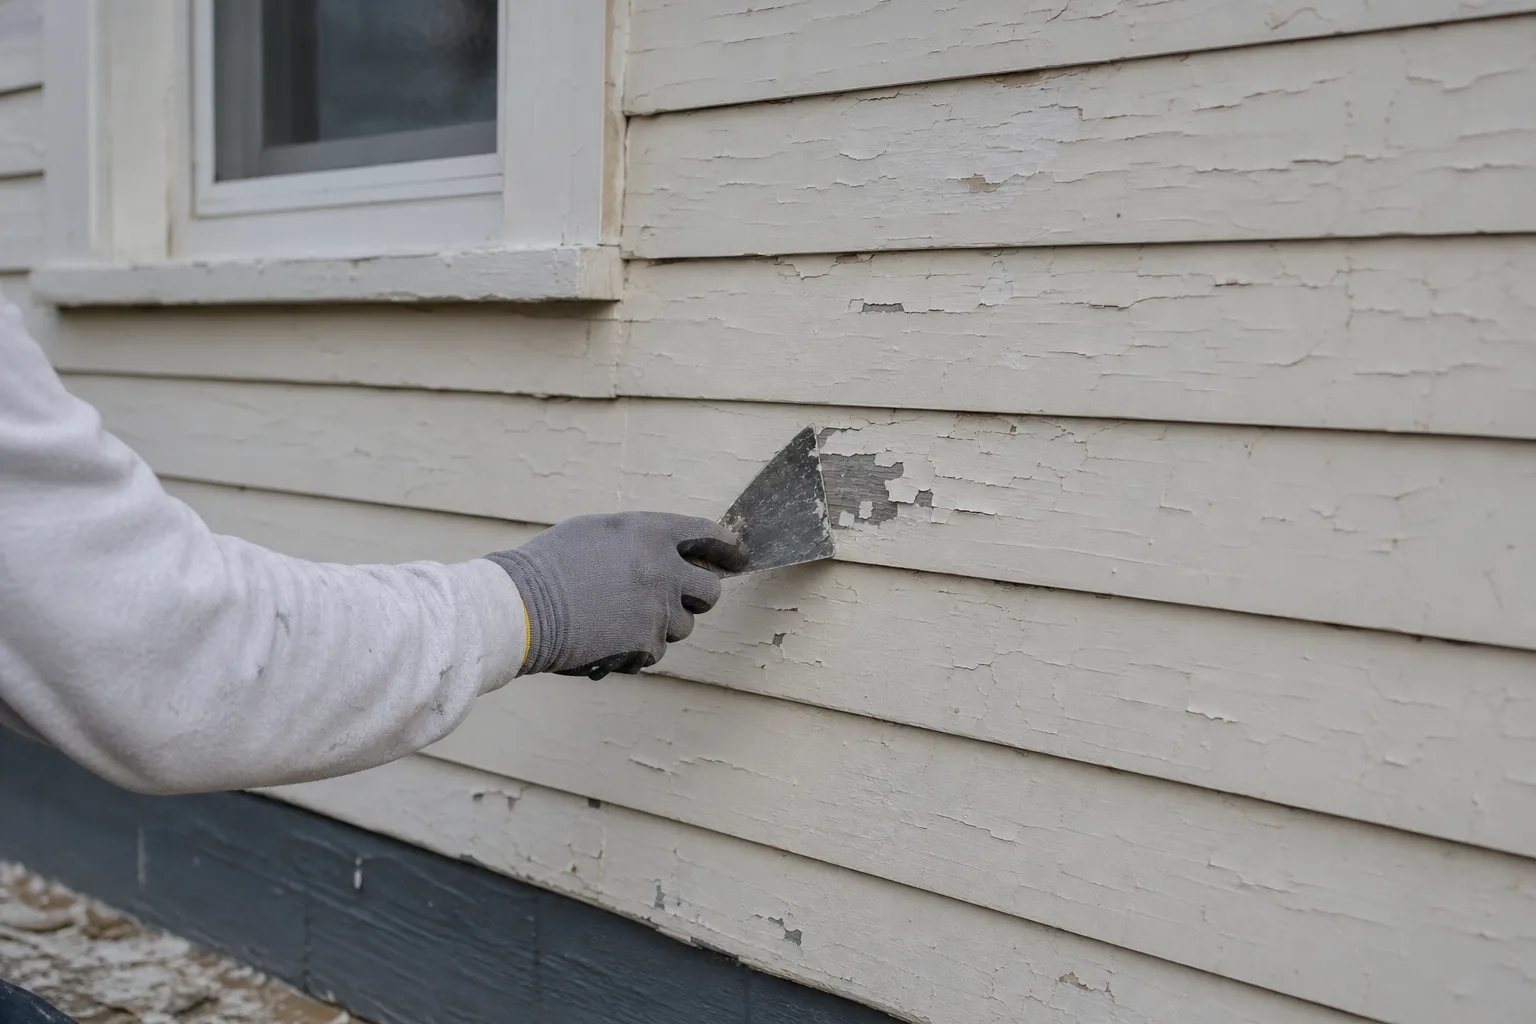
Painting over paint that is already peeling, cracking, or poorly bonded produces a new coat that fails by the same mechanism as the old one. The new paint bonds to the failed old paint, not to the substrate, and when the old paint lets go, the new paint goes with it. All failed, loose, or peeling paint needs to be removed down to a sound surface before new paint goes on.
Scraping is physical work. For large areas of failing paint on older homes, the work can be extensive. Heat guns, electric scrapers, and chemical strippers are tools that assist with the process, each appropriate in different conditions. Older homes painted before 1978 may have lead-based paint, which requires specific handling procedures and potentially professional lead-safe work practices.
Repairing Damaged Siding and Trim
Exterior siding that is rotted, cracked, or physically damaged should be repaired or replaced before painting. Paint applied over rotted wood does nothing to stop the rot and may seal moisture into the wood, accelerating the problem. The same is true for stucco with significant cracks or gaps: painting over them without proper repair leaves moisture pathways that undermine both the repair and the paint.
Trim repairs, filling gaps in mitered corners, replacing sections of rotted fascia or window trim, and addressing any areas where water has damaged the substrate are all preparation tasks that happen before primer goes on. Discovering these repairs after painting has started is more disruptive and costly than addressing them systematically during the prep phase.
Caulking: Sealing Against Moisture Infiltration
Caulking gaps at transitions between different materials, such as where trim meets siding, around windows and doors, and at inside corners, prevents moisture from infiltrating behind the paint film and into the wall assembly. Moisture infiltration is the leading cause of exterior paint failure because it causes the substrate to expand and contract, which eventually breaks the paint bond.
Old, cracked, or separated caulk should be removed and replaced rather than painted over. Painting over failed caulk with a fresh topcoat creates a temporary appearance improvement that doesn't address the underlying moisture pathway. Fresh paintable caulk, allowed to skin over before painting, is one of the most impactful individual prep steps for paint longevity.
Priming: The Adhesion Foundation
Primer creates the adhesion bridge between the substrate and the finish coat. Bare wood should always be primed before painting. Areas where paint has been stripped to bare wood should be spot-primed at minimum. Stain-blocking primers are appropriate for bare wood with tannins that bleed through paint, for water stains, and for any surface with discoloration that you don't want telegraphing into the finish coat.
Some painting contractors skip primer on previously painted surfaces in good condition, applying two finish coats instead of primer plus finish. This can produce acceptable results with high-quality products on surfaces that are genuinely in good condition. But wherever there's bare wood, repaired areas, or spots where the existing paint is thin, spot priming is essential.
Masking and Protecting Unpainted Surfaces
Driveways, walks, landscaping, windows, and light fixtures all need protection before painting begins. Overspray from sprayers and splatter from brushes and rollers travels farther than most people expect. Drop cloths on the ground below work areas, plastic sheeting over windows and fixtures, and tape on hardware all prevent the cleanup problems that result from inadequate masking.
A well-masked job is also a sign of a contractor who respects the property they're working on. Contractors who mask thoroughly at the start of a project are the same contractors who clean up thoroughly at the end. It reflects an overall approach to the work that shows up in every phase.
Wrapping Up
Surface preparation is the invisible part of a painting project that determines everything visible about the result. A paint job applied to a poorly prepared surface will fail much sooner than the same paint applied to a properly cleaned, repaired, caulked, and primed surface. The time and material cost of proper preparation is a fraction of the cost of repainting prematurely. That math is worth understanding whether you're doing the work yourself or evaluating contractors.
Prepping Siding in Utah's Climate
Utah's dry air, intense high-elevation sun, and freeze-thaw swings put extra demands on exterior paint. In St. George and Washington, strong UV and summer heat can chalk and fade paint quickly, while in Park City, Midway, and the Wasatch Back, snow and winter moisture make caulking and sealed trim especially important. Drying time after washing is usually short in Utah's low humidity, but always confirm the surface is fully dry before priming.
If you're maintaining a home in southern Utah, see our guide to seasonal housing costs Utah buyers should know for budgeting, and seasonal storm cycles and home improvement budgeting for planning durable exterior upgrades. Shopping for a home with a fresh exterior? Browse Washington, Utah listings. If Utah is on your shortlist, you can explore homes across the Wasatch Front and southern Utah at Best Utah Real Estate.
Before hiring help for prep work, it also pays to read how to vet a home services contractor in Utah, and for pressure washing at home, see our electric pressure washer PSI and GPM guide.
Frequently asked questions
How long should I wait after pressure washing before painting?
Does exterior paint primer need to be painted over the same day?
Do I need to prime siding that was already painted?
Should I remove old caulk before repainting siding?
How does Utah's climate affect exterior paint prep?
Is it safe to scrape paint on an older home?
Keep reading
More from the blog

Easy Seasonal Care Steps to Protect Your Roof
Moving Timeline for Buying and Selling a Home
Biophilic Home Staging: Warm Up New Homes for Buyers