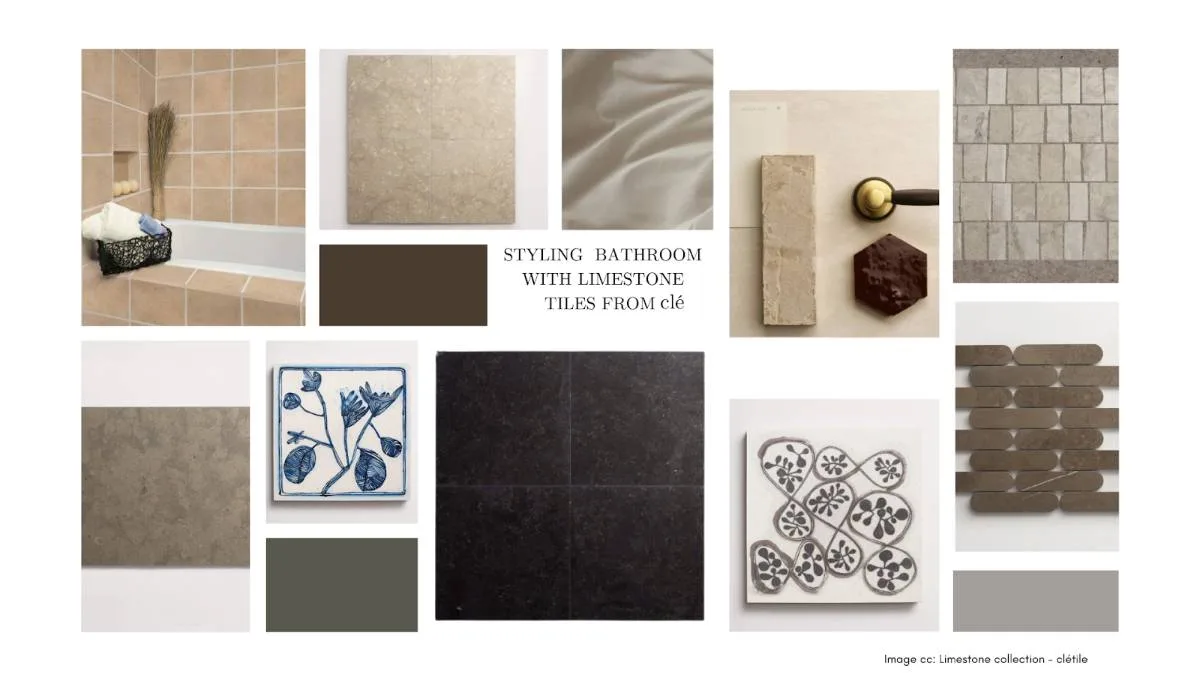
How to Style a Bathroom With Limestone Bathroom Tile From clé
Thinking about a bathroom renovation using natural stone? Here's how to style every surface with limestone bathroom tile from clé, from floor to shower wall to fixture pairings.
Bathroom renovations are rarely cheap decisions, and the tile you choose determines the character of the space for years.
Swap it out and you're looking at the entire cost of demo, installation, and replacement. Which is why more homeowners undertaking premium renovations are gravitating toward natural stone: not as a trend, but as a decision designed to outlast one.
Limestone sits at an interesting point in that conversation. It is not as conspicuous as marble, not as rustic as slate. It occupies the calibrated middle ground between the two: quieter than polished stone, warmer than concrete, and with a surface that becomes more particular to its environment the longer it lives there.
When it is specified well and styled with intention, a limestone bathroom reads as considered rather than showy, which is precisely the quality that holds up.
This guide covers how to style a bathroom with limestone tile from start to finish: which surfaces to prioritise, how to handle format and format transitions, which fixtures and finishes work with it rather than against it, and what practical installation decisions matter before the first tile goes down.
Start with the floor: format choices and what they communicate
The floor is the first and largest surface decision in any bathroom. It anchors everything else, sets the tone for fixture selections, and determines how light reads across the room at different times of day. Getting it right matters more than any other single choice.
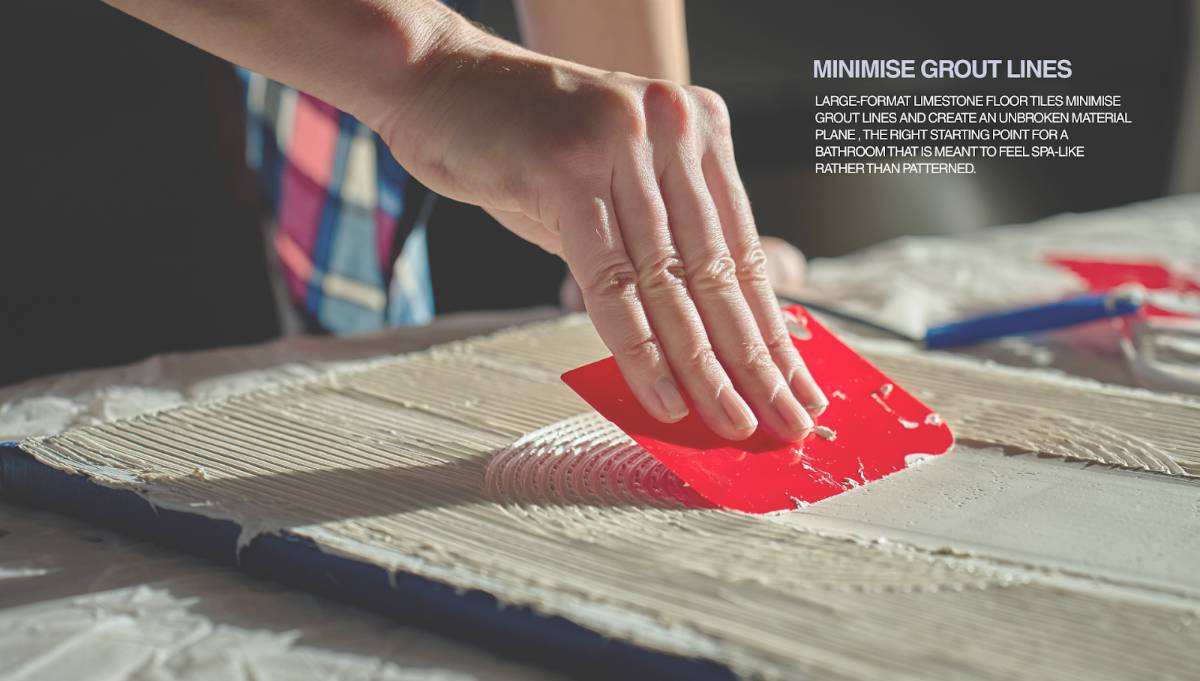
For a contemporary bathroom, the 18-inch square or 12-by-24-inch rectangle formats in limestone bathroom tile from clé's Grand Place collection offer the cleanest architectural reading.
Fewer grout lines mean a more continuous surface, and a continuous surface makes a bathroom feel larger. This is especially useful in primary bathrooms where the floor spans a significant area, and the material needs to carry the eye across the space without interruption.
The plank format introduces a directional quality to the floor: it draws the eye along the length of the room, which can be used deliberately to make a narrow bathroom feel less so. Run the planks lengthwise and the room gains apparent depth. This is a practical styling decision, not just an aesthetic one.
For shower floors specifically, the hex format becomes the more technically sound choice. The smaller tile size means more grout lines per square foot, which improves wet-surface traction.
A shower floor in honed limestone hex, paired with a larger-format rectangle or square on the shower walls, creates a material relationship that is visually coherent while being functionally differentiated.
Shower walls: the case for full-height limestone cladding\
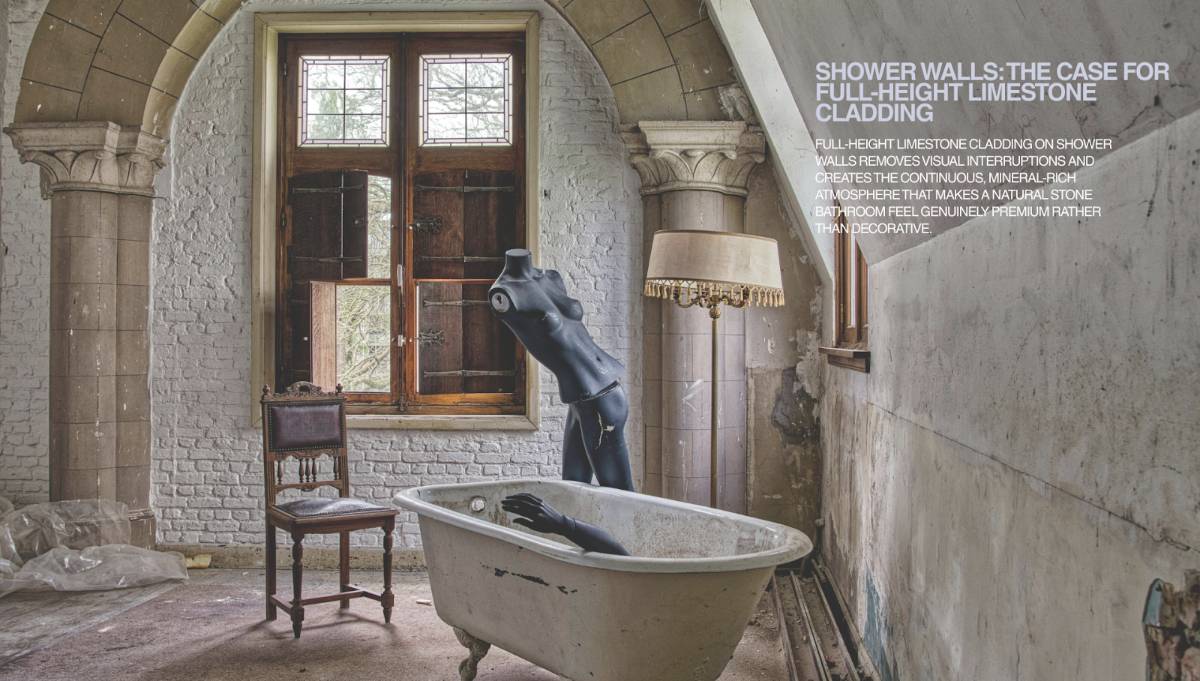
The shower wall is where limestone makes its most persuasive argument. Used floor to ceiling in the 12-by-24-inch rectangle format, it eliminates the visual noise of a tiled surround with a border and a different wall material above.
The continuity reads as deliberate and architectural, the kind of decision that separates a renovated bathroom from a designed one.
The honed finish handles this scale well.
A polished limestone on a full shower wall would be demanding: reflective, active, everywhere at once. The honed surface is quieter. It absorbs light rather than bouncing it, which is what allows it to work at full height without feeling heavy. The natural colour variation in the stone, the slight shifts in tone from tile to tile, provides all the visual interest the surface needs without adding pattern.
A practical note on layout planning: shower walls specified in large-format limestone require careful setting-out before installation begins.
The tile setter should plan the layout from the centre of each wall outward to ensure cut tiles fall symmetrically at corners and transitions. This is standard practice in quality stone installation, but it is worth confirming with your contractor before work begins.
A layout that starts from one edge and works across the wall will almost always produce an awkward narrow cut on the opposite side.
Where budget or scope makes full shower cladding impractical, a feature wall behind the shower head in full-height limestone, with the remaining walls in a complementary neutral porcelain, is a considered alternative. The material anchors the shower without requiring the entire enclosure to be stone.
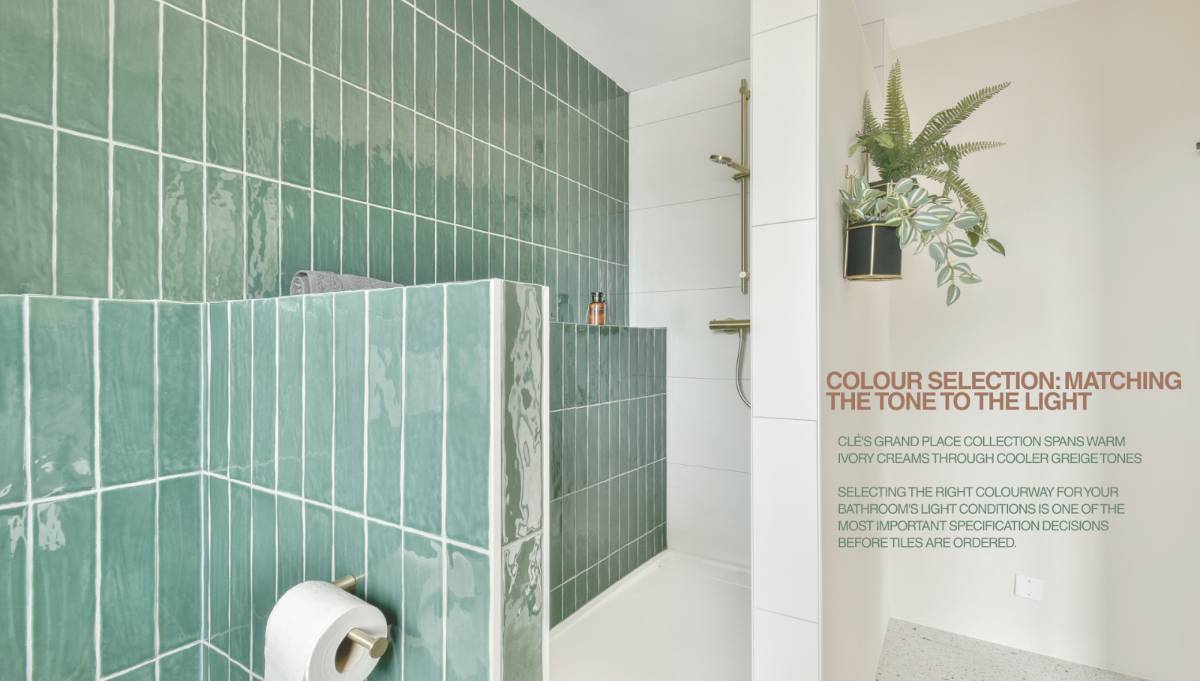
Colour selection: matching the tone to the light
Limestone does not come in one colour.
The Grand Place collection spans a range that includes warm ivory tones (Marfil, Ange), mid cream and greige shades (Arbor, Moulin), and cooler pale options (Ceruse, Hermitage, Tabor). These differences are subtle on a sample card and significant once they occupy an entire floor and three shower walls.
North-facing bathrooms with limited natural light tend to benefit from warmer limestone tones: Marfil's ivory warmth and Ange's soft creaminess keep the space from reading as cool or flat under artificial light. South-facing bathrooms with strong direct light can handle the paler, cooler Ceruse or Hermitage without losing vitality, and in some cases those tones will read as cleaner and more refined under bright conditions.
It is also worth noting that limestone's appearance shifts between dry and wet states. The stone darkens slightly when wet, which is most apparent in shower applications. This is entirely normal behaviour for a honed natural stone, and it resolves as the surface dries.
Natural variation between tiles is also a specification reality rather than a quality issue. Limestone tiles from a single order will differ in tone and subtle texture.
clé's installation guidance specifically calls for blending tiles from all boxes and arranging them in the installation space before fixing. This is how an experienced installer distributes variation intentionally across the surface, producing a floor or wall that reads as naturally varied rather than patchy.
Fixtures and finishes: what works alongside limestone
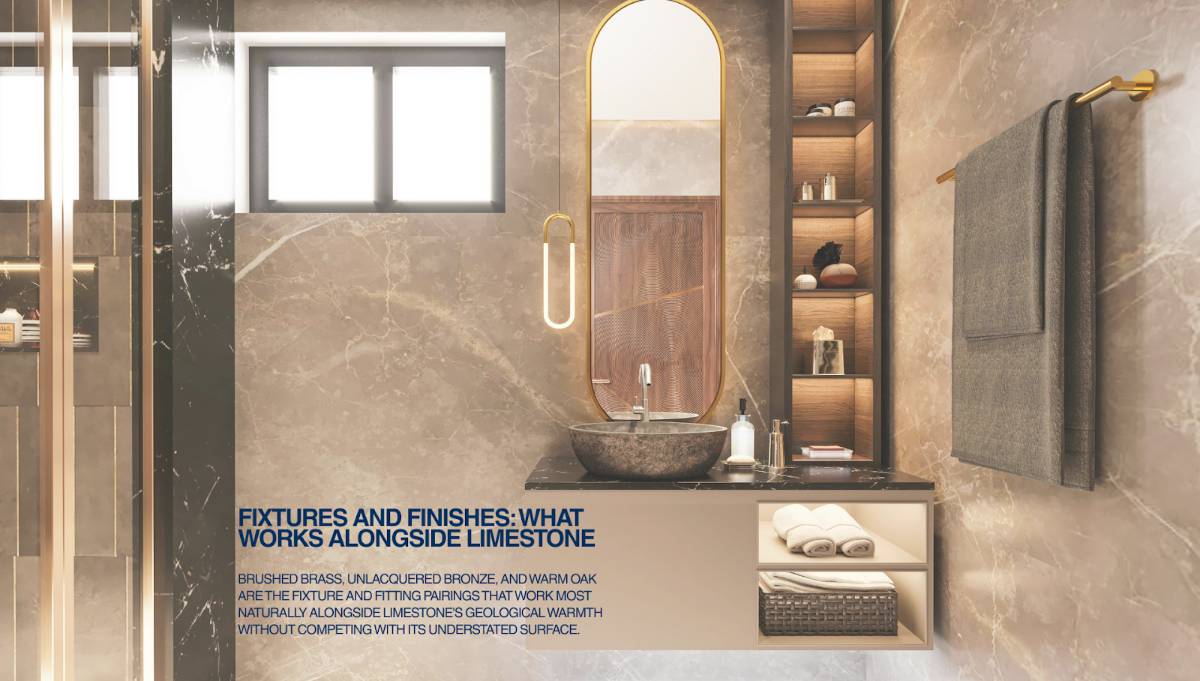
Limestone's neutral palette is its greatest practical advantage in a bathroom renovation: it is compatible with almost every metal finish and vanity material on the market. But compatible is not the same as resolved, and some pairings are genuinely stronger than others.
Brushed brass and unlacquered bronze are the metal finishes that read most naturally alongside warm limestone tones. The yellow and amber undertones in the metal echo the warm cream of tones like Marfil and Ange without competing.
The relationship feels geologically coherent: two materials that belong to the same material family of warmth and age.
Chrome and polished nickel work equally well alongside cooler limestone tones like Ceruse and Hermitage, where the silver of the metal and the pale grey of the stone share the same cool register.
Vanity materials matter too. Warm oak, particularly antique or wide-plank styles is one of the classic pairings for limestone floors, and it works as well in a bathroom vanity unit as it does in a general interior. The warmth of the grain and the quiet warmth of the stone find a shared natural register that reads as genuinely considered. White-painted cabinetry works across the full limestone colour range and keeps the bathroom feeling light.
For a spa-like, architecturally quiet bathroom, a close-matched grout is almost always the right call. This is the kind of practical decision that benefits from reading broadly across renovation considerations, in the same way that interior paint colour decisions in a renovation affect how the surrounding surfaces are perceived: small choices with outsized visual consequences.
Sealing and maintenance: what to know before installation begins
Limestone is a natural stone, which means it is porous, and porosity in a wet environment requires management. This is not a flaw unique to limestone: marble, travertine, and most other natural stones share the same characteristic.
What separates a limestone installation that performs for decades from one that develops staining and surface damage within a few years is almost entirely the sealing programme.
-
Use an impregnating sealer before grouting. A penetrating sealer fills the stone’s pores and helps protect against water, oil, and acidic spills.
-
Prioritize the highest-risk areas. Shower floors, shower walls, and bathroom floors near baths or basins need the most protection.
-
Plan for periodic resealing. In wet areas, resealing is part of routine maintenance and helps the stone perform well over time.
-
Only use pH-neutral cleaners. Acidic bathroom cleaners can etch and dull the honed surface, often causing the most visible long-term damage.
-
Make sure the substrate is sound. Limestone needs a solid, level, deflection-resistant base; movement or unevenness underneath can lead to cracking.
-
Get the prep work right from the start. Proper substrate assessment and renovation sequencing help avoid costly repairs later.
Understanding what is involved in a full renovation project before work begins, including substrate assessment and the sequencing of trades, is the kind of pre-construction homework that prevents expensive remedial work later.
Putting it together: a worked styling example
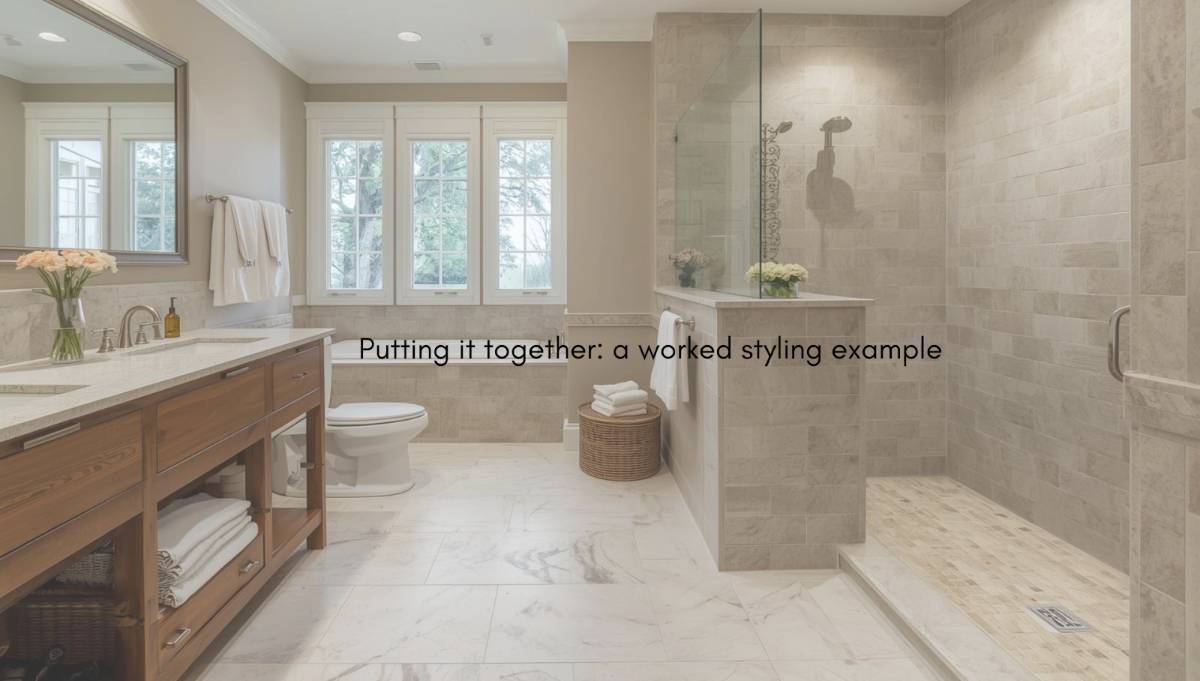
A primary bathroom styled around limestone might look like this: 18-inch square honed tiles on the main floor in a close-matched ivory grout. Shower walls in 12-by-24 rectangles, set vertically to read as full-height cladding.
Shower floor in hex tiles for traction, same material family.
A warm oak floating vanity with a brushed brass wall-mounted tap and undermount basin. Brushed brass towel rail and robe hook. White walls outside the wet zone to keep the room light without introducing another material into the palette. Frameless glass shower screen. No grout border, no tile trim, no unnecessary visual break between surfaces.
The result is a bathroom where the material does the work: where the decision to use natural stone rather than ceramic-effect porcelain is immediately legible in the surface quality, and where the patina that develops over years of use becomes an asset rather than evidence of wear.
That is what a good limestone specification delivers, and it is what the Grand Place collection is designed to make achievable.
Keep reading
More from the blog

Utah vs. Florida Real Estate Markets in 2026: Key Trends

Design Details Buyers Notice During a Home Tour

How Outsourcing Improves Architectural Project Outcomes
