How to Install Chain Link Fence: A Practical Guide to Planning, Posts, Fabric, Gates, and Professional Installation
A step-by-step practical guide to chain link fence installation covering layout planning, setting terminal and line posts, stretching fabric, installing gates, and when to hire a professional.
How to Install Chain Link Fence: A Practical Guide to Planning, Posts, Fabric, Gates, and Professional Installation
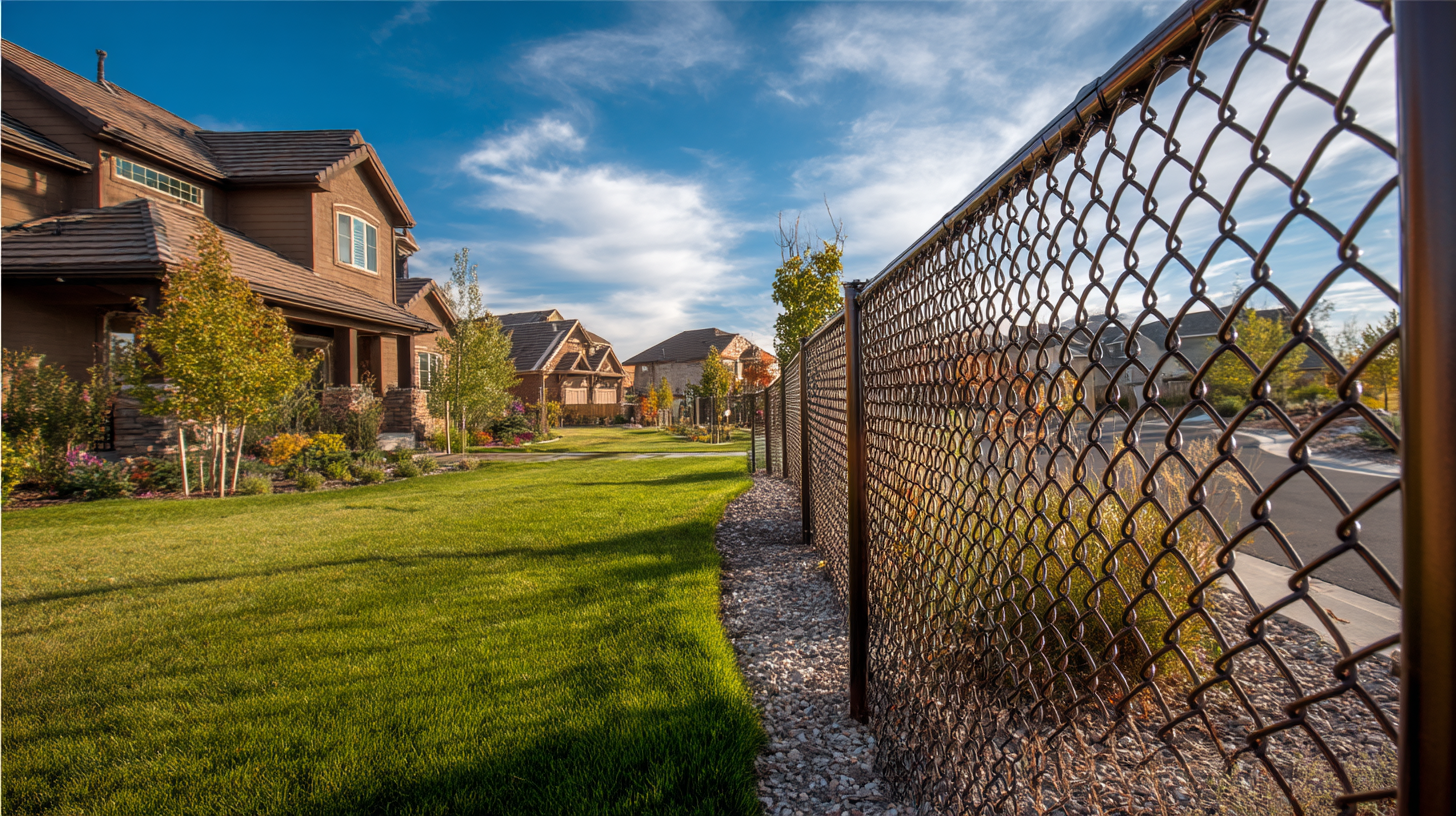
Chain link fencing is one of the most practical fence options for homeowners and property owners who want durability, visibility, and cost-effective boundary control. It is commonly used for backyards, pet areas, gardens, side yards, rental properties, sports areas, and property lines.
If you are wondering how to install chain link fence, the process involves more than setting posts and unrolling fabric. A clean, long-lasting installation depends on accurate layout, strong terminal posts, consistent line posts, tight fence fabric, and properly aligned gates.
For smaller, straightforward projects, chain link fence installation may be realistic for a skilled DIYer. For larger yards, sloped ground, gate-heavy layouts, or property-line concerns, professional installation may be the better long-term option.
What to Know Before Installing a Chain Link Fence
Before digging post holes, start with planning. This step helps prevent mistakes that can lead to crooked fence lines, property disputes, weak posts, or wasted materials.
Check local fence rules first. Cities, counties, and homeowners associations may have requirements for fence height, location, materials, pool fencing, front-yard fencing, and visibility near sidewalks or corners. If the fence will be near a shared boundary, confirm where the property line is before installation.
You should also call your local utility marking service before digging. Underground gas, water, electrical, sewer, irrigation, or communication lines may run through the fence path. Having them marked helps protect your safety and prevents costly damage.
Step 1: Plan the Fence Layout
A good chain link fence starts with a clear layout. Measure the full fence line and mark where the fence will start, stop, turn corners, and include gates. Use stakes and string line to create a visual guide before digging.
Terminal posts should be marked first. These posts are installed at the ends of the fence, corners, and gate openings. They are important because they carry the tension of the fence fabric.
Line posts go between terminal posts and support the fence along the run. They should be spaced consistently based on the fence design, terrain, and manufacturer recommendations. Consistent spacing helps the fence stay straight and stable.
Gate placement also deserves careful thought. Consider where people need to enter, where pets will move, where lawn equipment will pass through, and whether you need access for trash bins, wheelbarrows, or vehicles. A gate that is placed well will make the fence much easier to use every day.
Step 2: Gather Chain Link Fence Materials and Tools
Before installation begins, gather the right materials. A typical chain link fence project may require terminal posts, line posts, top rail, chain-link fabric, tension bars, tension bands, brace bands, rail caps, line post caps, tie wires, gate posts, a gate frame, hinges, latch hardware, concrete, and gravel.
You will also need tools such as a tape measure, stakes, string line, post hole digger or auger, level, wrench, pliers, fence stretcher or come-along, shovel, wheelbarrow, and safety gear.
Material quality matters. Stronger posts, properly sized fittings, durable chain-link fabric, and quality gate hardware help the fence hold up longer. Choosing the cheapest materials may save money upfront, but it can lead to sagging, rust, loose fittings, or early repairs.
Step 3: Set Terminal Posts First
Terminal posts are the anchor points of the fence. Because they support the tension of the chain-link fabric, they need to be set correctly.
Dig terminal post holes wider and deeper than line post holes. The exact depth depends on fence height, soil conditions, frost depth, and local requirements. Add gravel at the bottom of the hole to support drainage, then place the post and fill around it with concrete.
Use a level to make sure each post is plumb. Brace the posts if needed so they stay straight while the concrete sets. Do not rush this step. If terminal posts shift or lean, the entire fence can become difficult to tension properly.
Allow the concrete enough time to firm up before stretching the fence fabric. Stretching fabric too early can move the posts and weaken the installation.
Step 4: Install Line Posts and Top Rail
After the terminal posts are secure, install the line posts. Use a string line between terminal posts to keep the fence line straight. Each line post should be aligned carefully before concrete sets.
Line posts are often set slightly lower than terminal posts because line post caps and the top rail add height. Make sure the height works with the fence fabric and final top rail position.
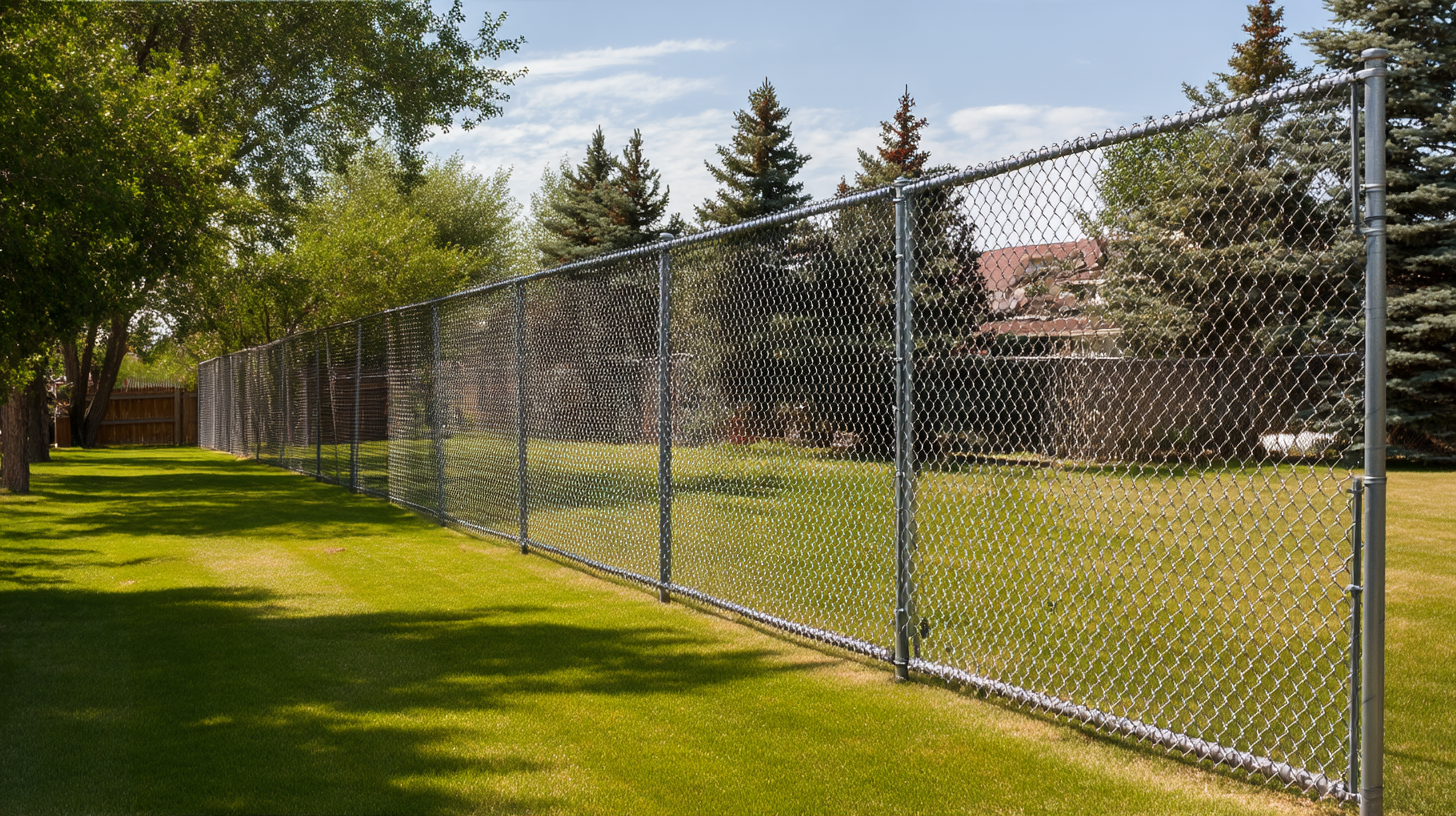
Once the line posts are set, install the top rail. The top rail runs through the line post caps and connects to the terminal posts using rail ends and brace bands. This rail helps support the chain-link fabric and keeps the fence line clean and stable.
Take time to check alignment. A chain link fence can look uneven if posts are not straight or the top rail waves across the fence line.
Step 5: Attach and Stretch the Chain Link Fabric
The fence fabric is what most people recognize as the chain link portion of the fence. Proper tensioning is what makes it look clean and function well.
Start by rolling out the chain-link fabric along the outside of the fence line. Stand the fabric up against the posts. Insert a tension bar through the end of the fabric and attach it to the first terminal post using tension bands.
Next, stretch the fabric toward the opposite terminal post. A fence stretcher or come-along can help remove slack and create a tight finish. The fabric should be tight enough that it does not sag or wave, but not so over-stretched that it pulls posts out of alignment.
Once the fabric is stretched, attach it to the terminal post with another tension bar and bands. Then secure the fabric to line posts and the top rail with tie wires. Space the ties consistently so the fabric stays supported along the full fence line.
Step 6: Install the Chain Link Fence Gate
Gate installation requires extra care because gates move and carry daily stress. Gate posts should be strong, straight, and properly aligned before the gate is attached.
Install hinges at the correct height and make sure they are positioned for the desired swing direction. The gate should open smoothly without dragging or hitting the ground. Attach the latch hardware where it is easy to use and properly aligned with the receiving post.
After installation, test the gate several times. Check the swing, clearance, latch alignment, and bottom gap. Small adjustments can make a big difference in daily use.
If the gate is wide, heavy, or used frequently, stronger gate posts and hardware may be needed.
When Should You Hire a Professional Fence Installer?
DIY chain link installation can work for smaller, simple projects on flat ground. However, professional installation may be worth considering when the fence line is long, the layout is complex, the soil is difficult, or the yard is sloped.
For homeowners in cities like Fair Oaks, comparing DIY installation with professional help such as a trusted professional like Fantastic Fence can be a useful resource for understanding layout planning, material options, gate placement, and chain link fence installation expectations.
Professional help can also make sense when the project includes multiple gates, corners, privacy slats, pet containment needs, or property-line concerns. Chain link fencing looks simple, but the details matter. Terminal posts, gate posts, and fabric tension all affect long-term performance.
Common Chain Link Fence Installation Mistakes to Avoid
One of the most common mistakes is skipping property line checks. Installing a fence over the boundary can lead to disputes, removal, or relocation costs.
Another mistake is setting posts too shallow. Shallow posts may lean or shift, especially when the fabric is stretched tight or the soil becomes wet.
Loose fabric is also a common issue. If the chain-link fabric is not stretched properly, it can sag, ripple, or look unfinished. It may also be less effective for pets or boundary control.
Poor gate alignment can create daily frustration. A dragging gate, weak gate post, or misaligned latch can make the fence harder to use and shorten the life of the hardware.
Wind load is another factor to consider. Privacy slats or screens can increase pressure on the fence. If you plan to add privacy materials, the fence may need stronger posts or closer spacing.
If an existing chain link fence is loose, leaning, damaged, or difficult to repair, getting advice from a trusted fence company like Fantastic Fence can help homeowners decide whether repair, reinforcement, or replacement is the better long-term option.
How to Maintain a Chain Link Fence After Installation
A chain link fence does not require much maintenance, but periodic checks can help it last longer.
Inspect the fence fabric and tie wires occasionally. If ties are missing or loose, replace them before the fabric pulls away from the posts or rail. Check the tension of the fabric and look for areas that have shifted.
Watch for rust, bent posts, damaged mesh, or loose fittings. Small issues are easier to fix early. If the fence is galvanized or coated, keeping the coating intact helps reduce corrosion.
Gates should also be checked regularly. Tighten hinges, adjust latches, and keep the swing path clear. Gates are usually the highest-use part of the fence, so they need more attention than the rest of the fence line.
Final Thoughts: A Good Chain Link Fence Depends on Planning and Tension
Learning how to install chain link fence starts with understanding that the strongest results come from planning and proper tension. A durable installation depends on accurate layout, strong terminal posts, straight line posts, properly stretched fabric, functional gates, and ongoing maintenance.
For small, simple fence runs, DIY installation may be realistic. For larger yards, uneven ground, multiple gates, or projects where appearance and long-term durability matter, professional installation may save time and prevent costly mistakes.
A well-installed chain link fence can provide years of practical use, reliable boundary control, and low-maintenance performance when it is built correctly from the start. When selecting property gates and fencing, taking time to plan the full layout — including gate placement and post depth — is one of the most important investments you can make in the project.
For homeowners also thinking about broader handyman services for homes and apartments, fence installation fits naturally alongside other practical improvements that protect and define your property.
Frequently asked questions
What should I do before installing a chain link fence?
How deep should terminal post holes be for a chain link fence?
How do you properly tension chain link fence fabric?
What are the most common chain link fence installation mistakes?
When should you hire a professional for chain link fence installation?
Keep reading
More from the blog

Utah vs. Florida Real Estate Markets in 2026: Key Trends

Design Details Buyers Notice During a Home Tour

How Outsourcing Improves Architectural Project Outcomes
