50 Steps to Constructing Your Utah Dream Home: A Complete Walkthrough
Learn about the 50 comprehensive steps involved in building a house and gain a solid understanding of how a house is constructed with this detailed guide.
Constructing your new Utah home can be an exciting but often overwhelming process. This comprehensive blog post takes you through all 50 steps of the home building journey, from laying out the homesite to closing day. Learn the timelines for each phase and gain a solid understanding of how a house is built.
Laying Out the Homesite
The first step in building a home in Utah is to lay out the homesite accurately. This ensures that the house is built exactly where it needs to be.
Using the Plot Plan
The construction manager or excavator will refer to the plot plan to mark the home's position.
Marking the Site
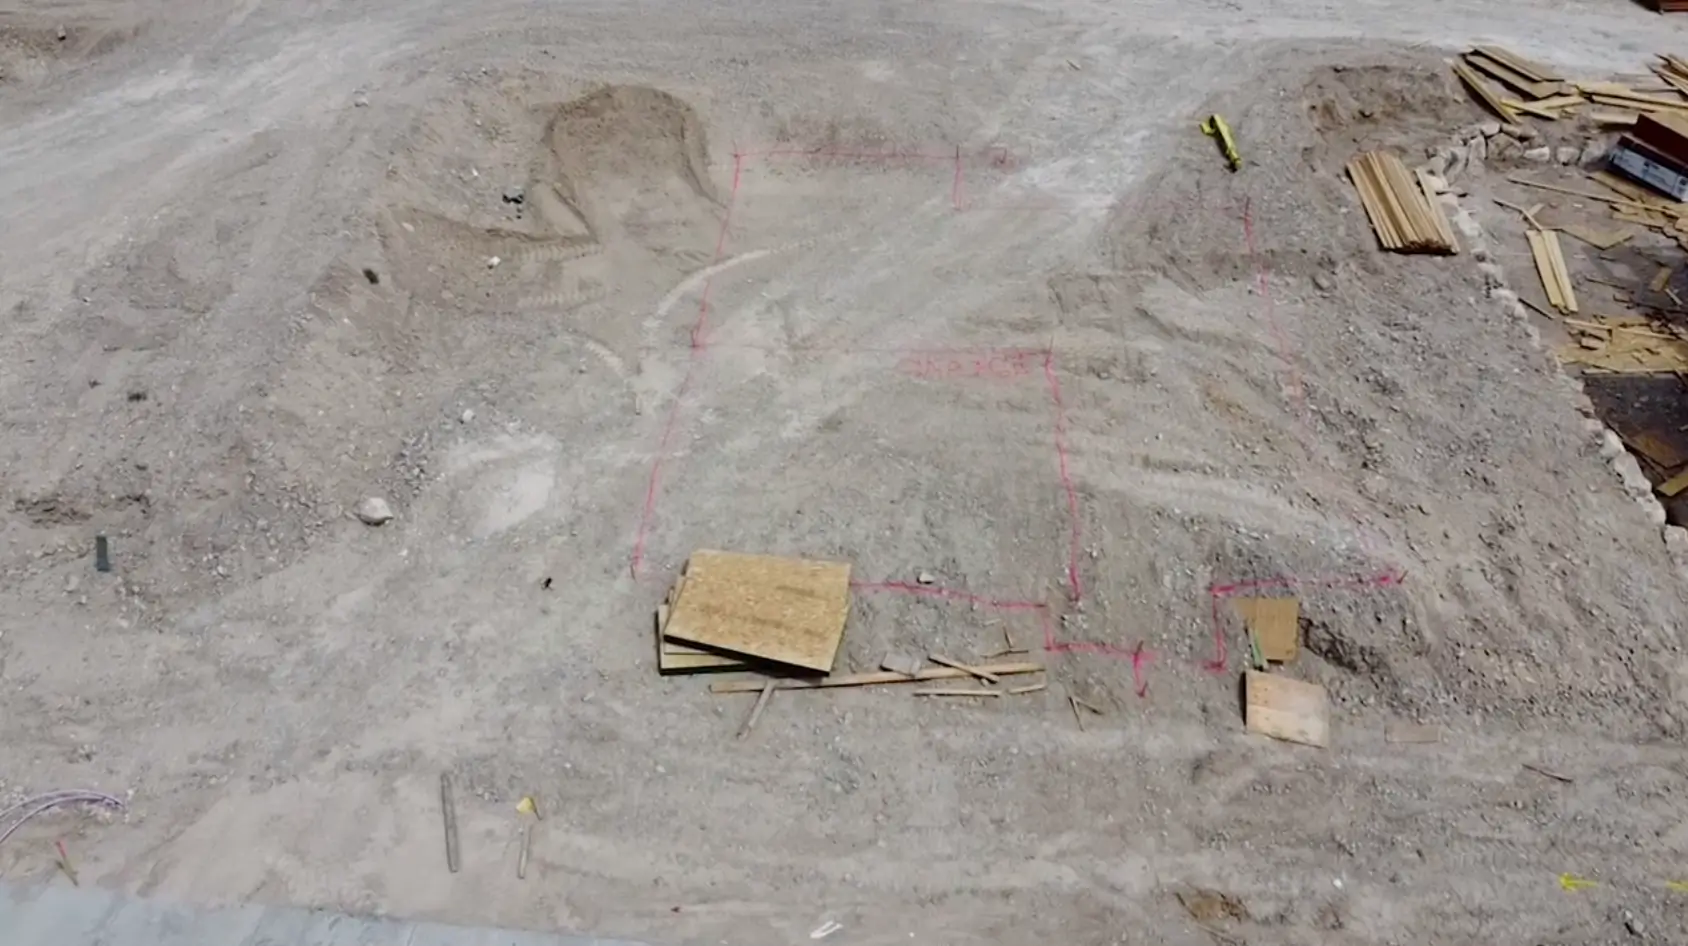
Pegs and spray paint are used to delineate the boundaries and important points of the homesite.
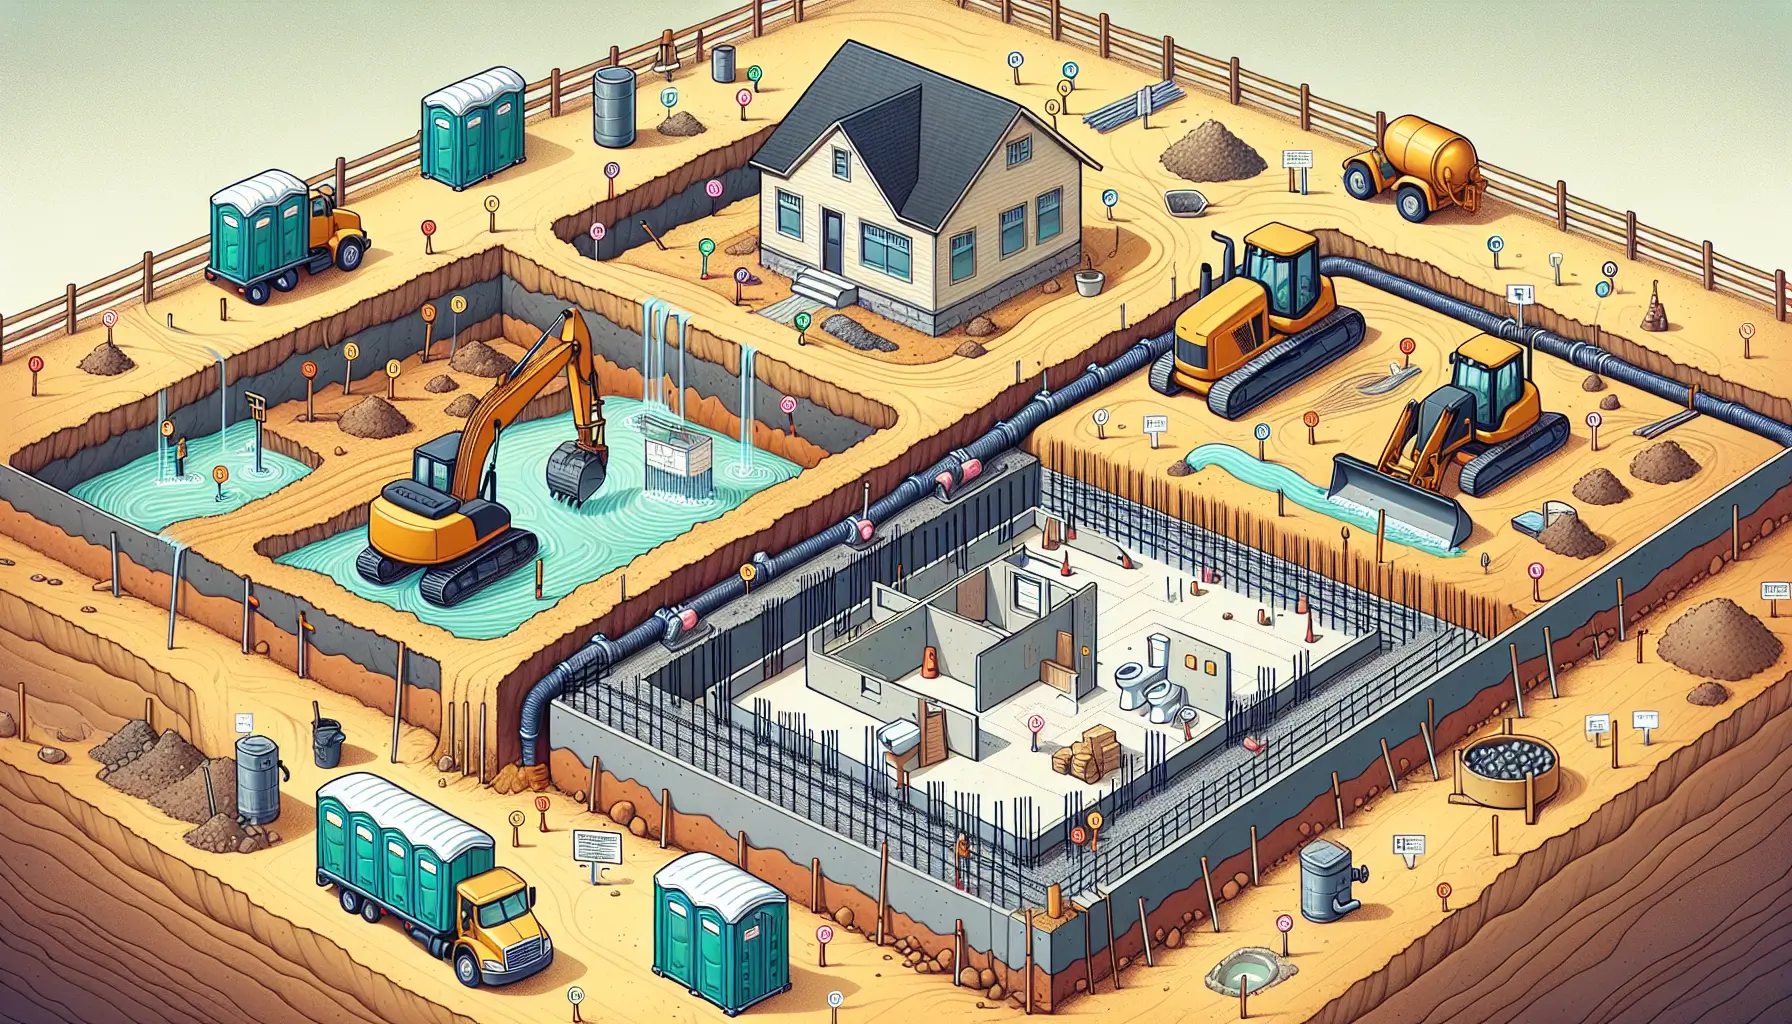
Excavation and Site Preparation
Excavation is a critical phase that involves preparing the land for the foundation of the house.
Digging the Hole
If the house plans include a basement or crawl space, the excavator will dig a hole wider than the home's footprint.
Site Facilities
Portable toilets are placed on-site for workers.
Soil Testing
An engineer will bore several holes in the ground to test the soil and water table conditions.
Footings
Concrete is poured into trenches or forms with rebar to create footings, which prevent settling and support the foundation walls.
Foundations and Basement
With the site prepared, it's time to build the foundation and basement walls.
Foundation Walls
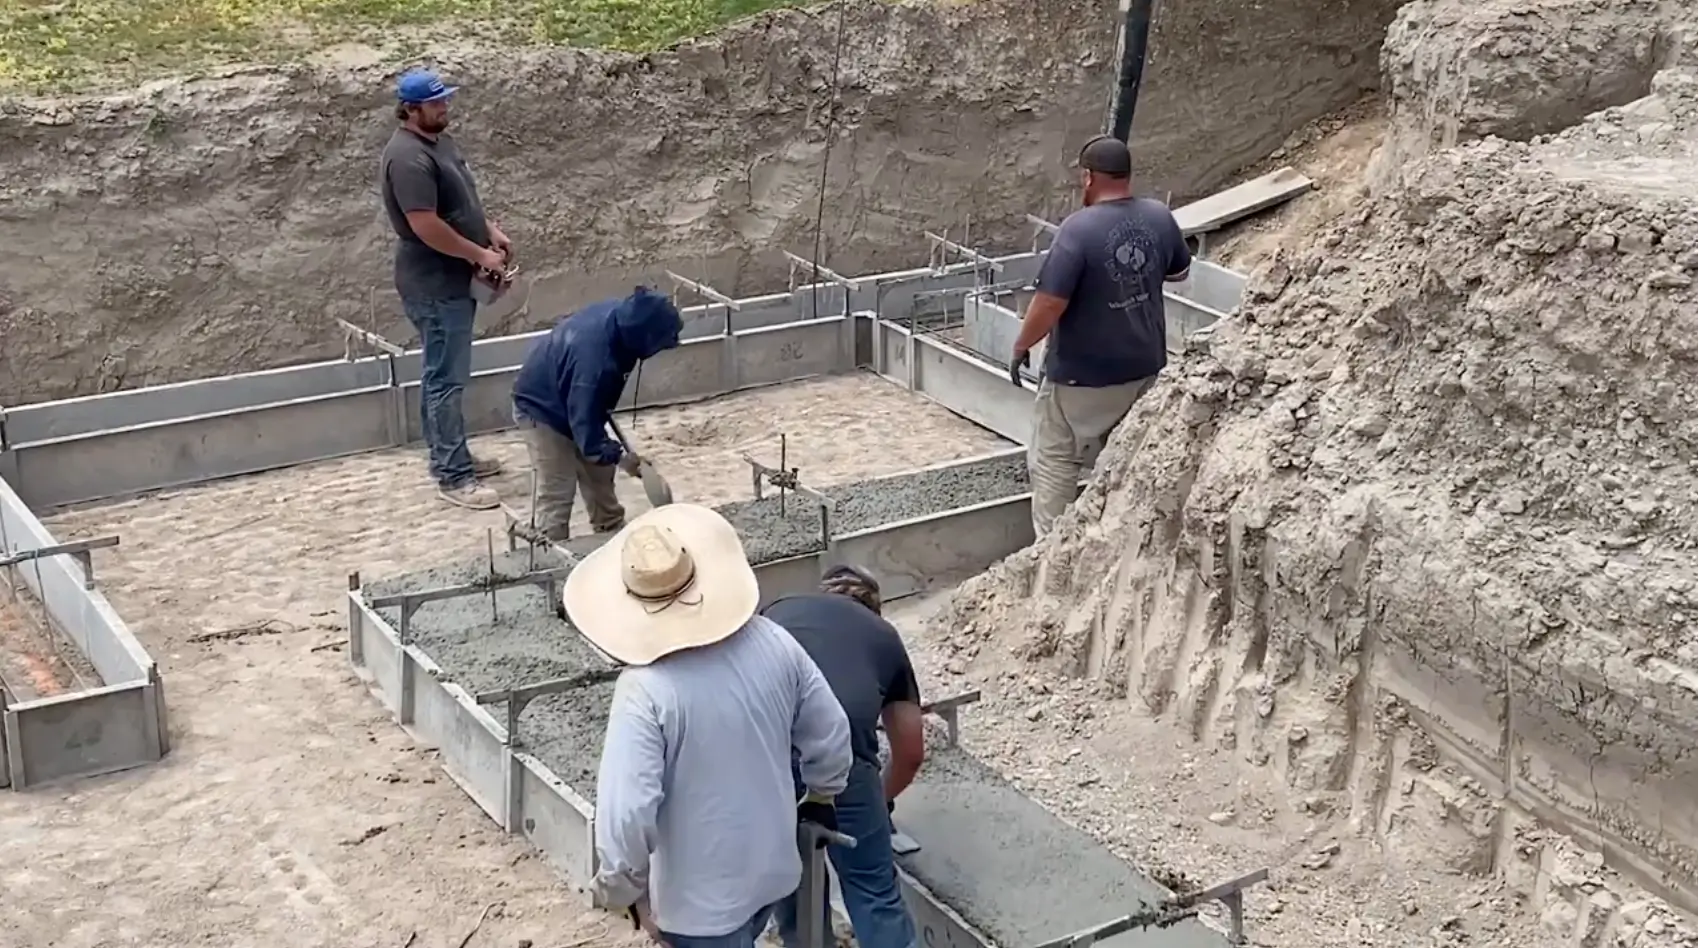
Rebar is set up to reinforce the foundation wall, followed by pouring concrete between the forms.
Concrete Curing
The concrete needs at least 7 days to cure, but other projects can continue in the meantime.
Sewer and Water Lines
Trenches are dug for sewer and water lines, which are then connected from the street to the foundation.
Window Wells
Window wells, typically made of metal, are attached to the foundation wall around basement window openings.
Damp Proofing
A tar coating is applied to the exterior foundation wall to damp proof the basement.
Backfill
The excavator pushes dirt back into the hole around the foundation and fills the garage area with dirt.
Soil Compaction
Various techniques and equipment are used to compact the soil around the foundation wall. Gravel is often added to further minimize settling.
Utilities and Infrastructure
Once the foundation is set, it's crucial to lay down the essential utilities that will serve the home. This step involves the installation of sewer, water, gas, and power lines.
Main Power Supply
Most modern homes have underground power lines. A trench is dug from the street to the foundation wall, terminating at an exterior electrical panel. A temporary power box is installed at the front of the property to provide electricity for ongoing construction.
Electricians install junction boxes for outlets, lights, switches, fans, smoke detectors and vape detectors, and kitchen appliances. Specific wiring is run to each location, and the breaker box is set up, though power is not yet fully distributed.
Main Gas Line
A separate trench is dug to run the gas line to the home. Though the gas line is installed, it is not turned on at this stage.
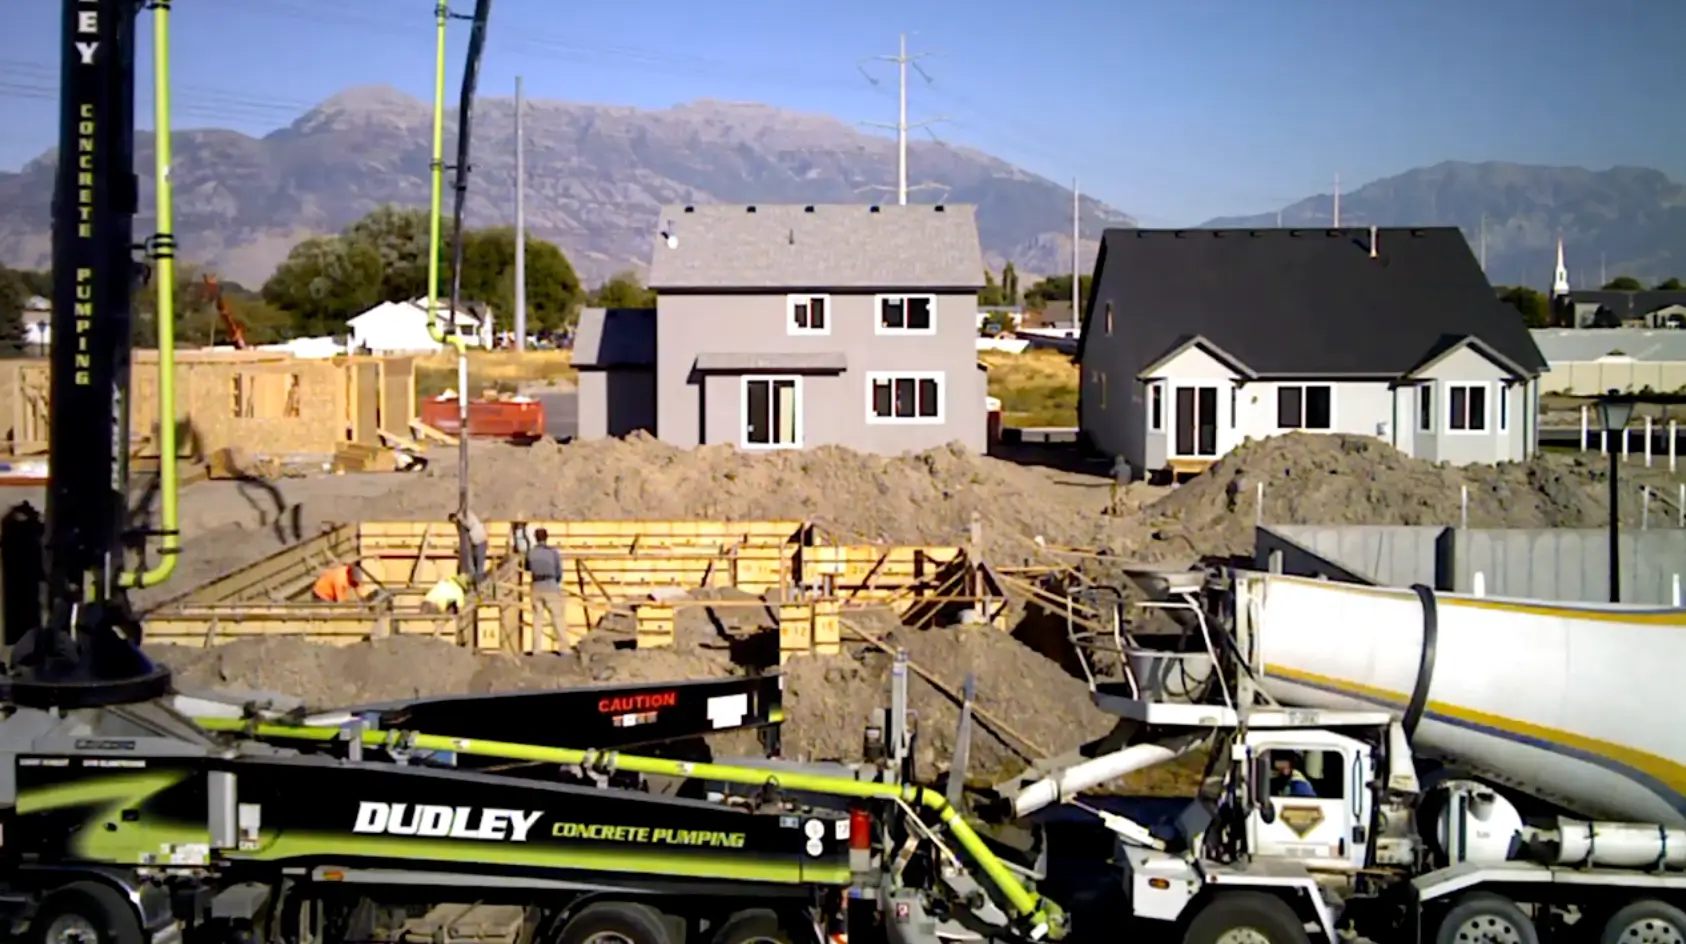
Basement and Garage Floors
The concrete pump truck returns to fill the basement and garage floors. The concrete is poured to a thickness of 3 to 6 inches and smoothed out by a crew.
Dumpster Delivered
As construction moves above ground, a dumpster is delivered to manage the significant amount of waste generated during the building process.
Framing and Roofing
Framing and roofing are critical stages that shape the structure of the home. This phase includes the construction of floors, walls, and the roof.
Framing
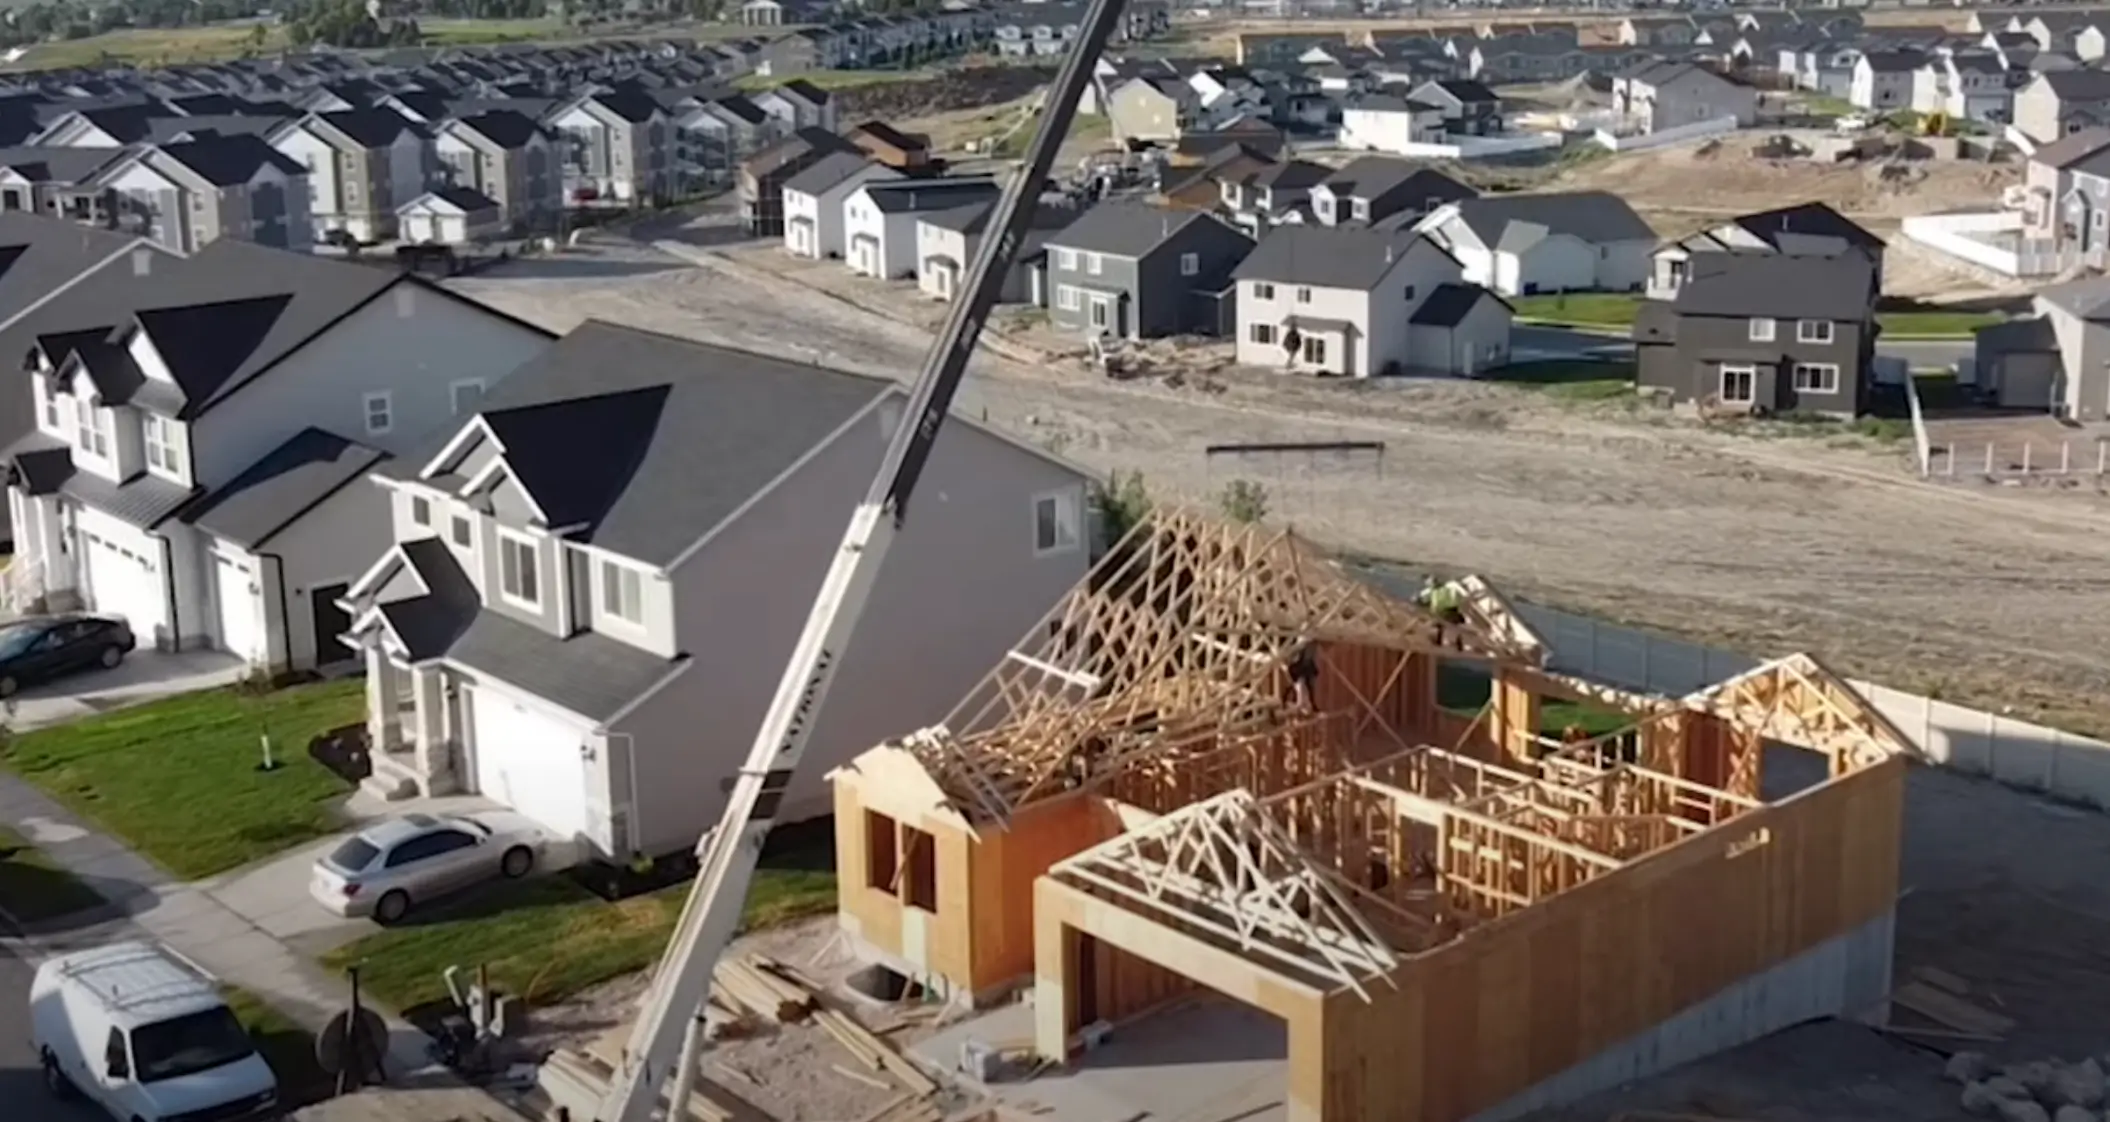
A specific number of lumber packages are delivered to the site. This includes various lengths and sizes of studs, treated boards for areas where wood meets concrete, pre-built roof trusses, particle board, and floor joists.
- Main flooring system
- Exterior walls using studs
- Particle board for exterior walls
- Roof trusses lifted by crane
- Particle board on roof trusses
Roofing
The roof is covered with felt paper, followed by shingles. Roofers start at the roof's edges and work their way to the peak, ensuring the home is protected from the elements.
The Four-Way Process
Known as the four-way, this process involves the installation of plumbing, electrical, HVAC systems, and includes multiple inspections. These systems are often installed simultaneously by different trades.
HVAC Installation
Heating and air conditioning units, along with ductwork, are installed to distribute warm or cool air throughout the home. For detached or converted garages, many homeowners choose garage HVAC installation with mini split systems for efficient independent climate control. Gas fireplaces are also added during this stage.
Electrical Installation
Electricians install junction boxes for outlets, lights, switches, fans, smoke detectors, and kitchen appliances. Specific wiring is run to each location, and the breaker box is set up, though power is not yet fully distributed.
Plumbing Installation
Plumbers run sewer and water lines to the kitchen, bathrooms, and laundry areas. Tub and shower surrounds, as well as the water heater, are also installed at this time.
Windows and Doors
Windows and doors are installed, allowing the heating and air conditioning systems to be turned on. This is particularly beneficial as homes are built year-round, and maintaining a controlled climate can aid in the construction process.
Interior Finishing
Interior finishing marks the transition from rough construction to a more detailed and polished phase. This stage significantly enhances the home's livability and aesthetic appeal.
Insulation
Once the home passes the four-way inspection, insulation is installed. A city inspector will return to verify the proper installation of the insulation.
Drywall Installation
Large sheets of drywall, also known as sheetrock, are delivered to the site. A crew hangs these heavy sheets on the interior walls and ceilings, cutting holes for electrical boxes and plumbing.
Mudding, Taping, and Texturing
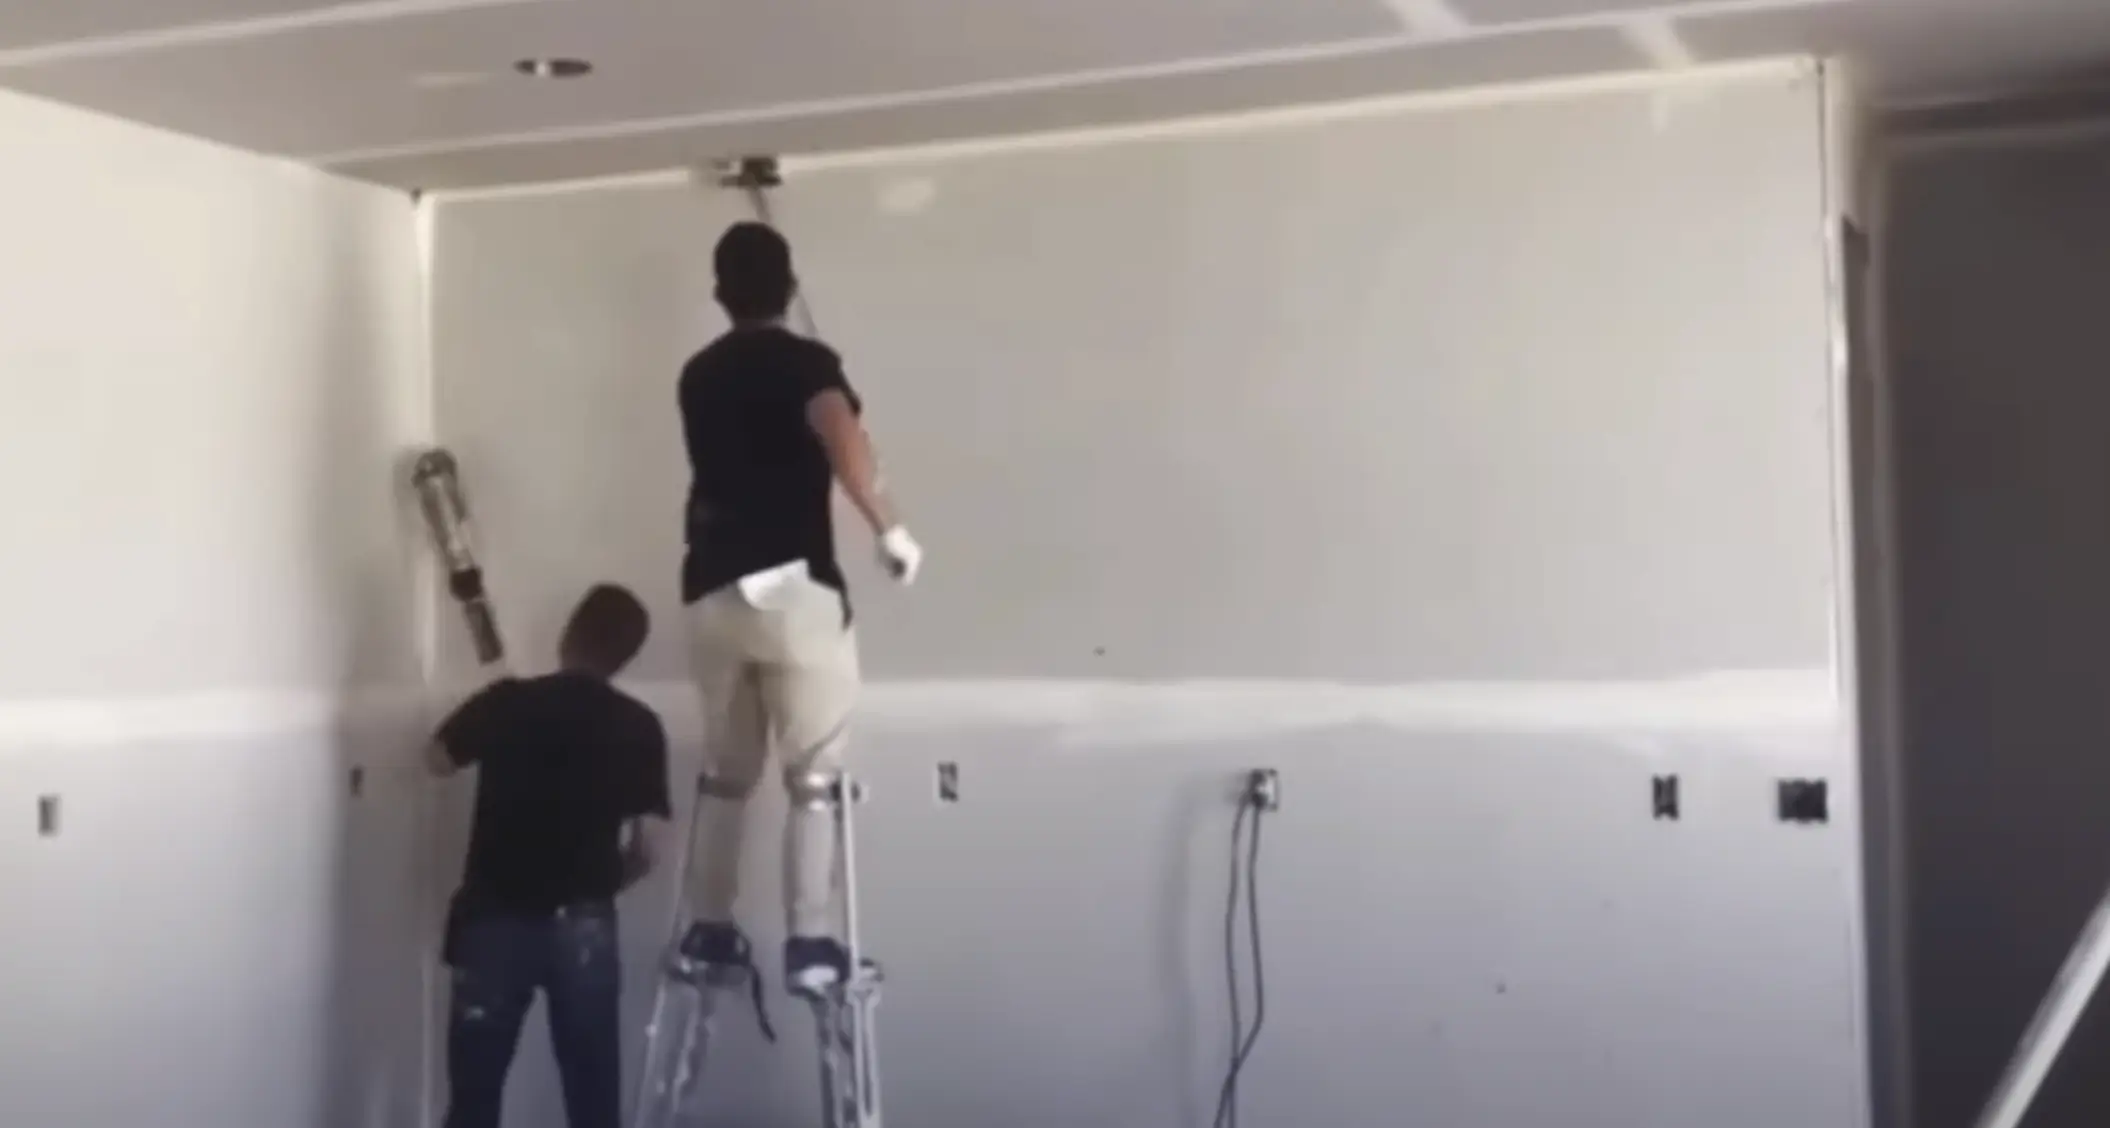
Special tools and methods are used to apply mud and tape to the seams where drywall panels meet. Corner beads are added to protect the edges, and the surface is sanded before texturing the walls.
Driveway and Exterior Elements
With heavy equipment no longer needed, the driveway is poured. Aluminum soffit, fascia, and gutters are installed to protect the roof's edge and overhang from the elements.
Stucco and Siding
Stucco is applied in multiple coats, which need to dry between applications. If it's too cold, a tent and heaters may be used. Siding, which is quicker to install, is also added at this stage.
Brick and Stone
Brick and stonework are added to the front of the home and often on pillars, enhancing the exterior's visual appeal.
Trim and Finish Work
Long trim pieces are attached to the lower walls, and shelving is installed. Stair railings receive their final adjustments.
Caulking and Painting
Shelves and trim are caulked, and holes are spackled for a cleaner look. Windows and other areas not to be painted are covered with plastic before a paint spray gun is used for the walls, ceilings, and doors.
Decks and Final Concrete
Any remaining concrete is poured, including patios and small driveway sections. Damaged concrete is replaced, and decks are completed.
Garage Doors
The garage door opener and garage doors are installed, adding convenience and security to the home.
Wood and Tile Floors
Wood and tile floors are installed late in the process to prevent damage. This includes floors in high-traffic areas like the kitchen and bathrooms.
Cabinets and Countertops
Custom cabinets are installed in the kitchen, bathrooms, and laundry area. Countertops and under-mount sinks are also added during this phase.
Floating Floors
Floating floors, such as laminate or vinyl, are installed, providing a durable and attractive surface.
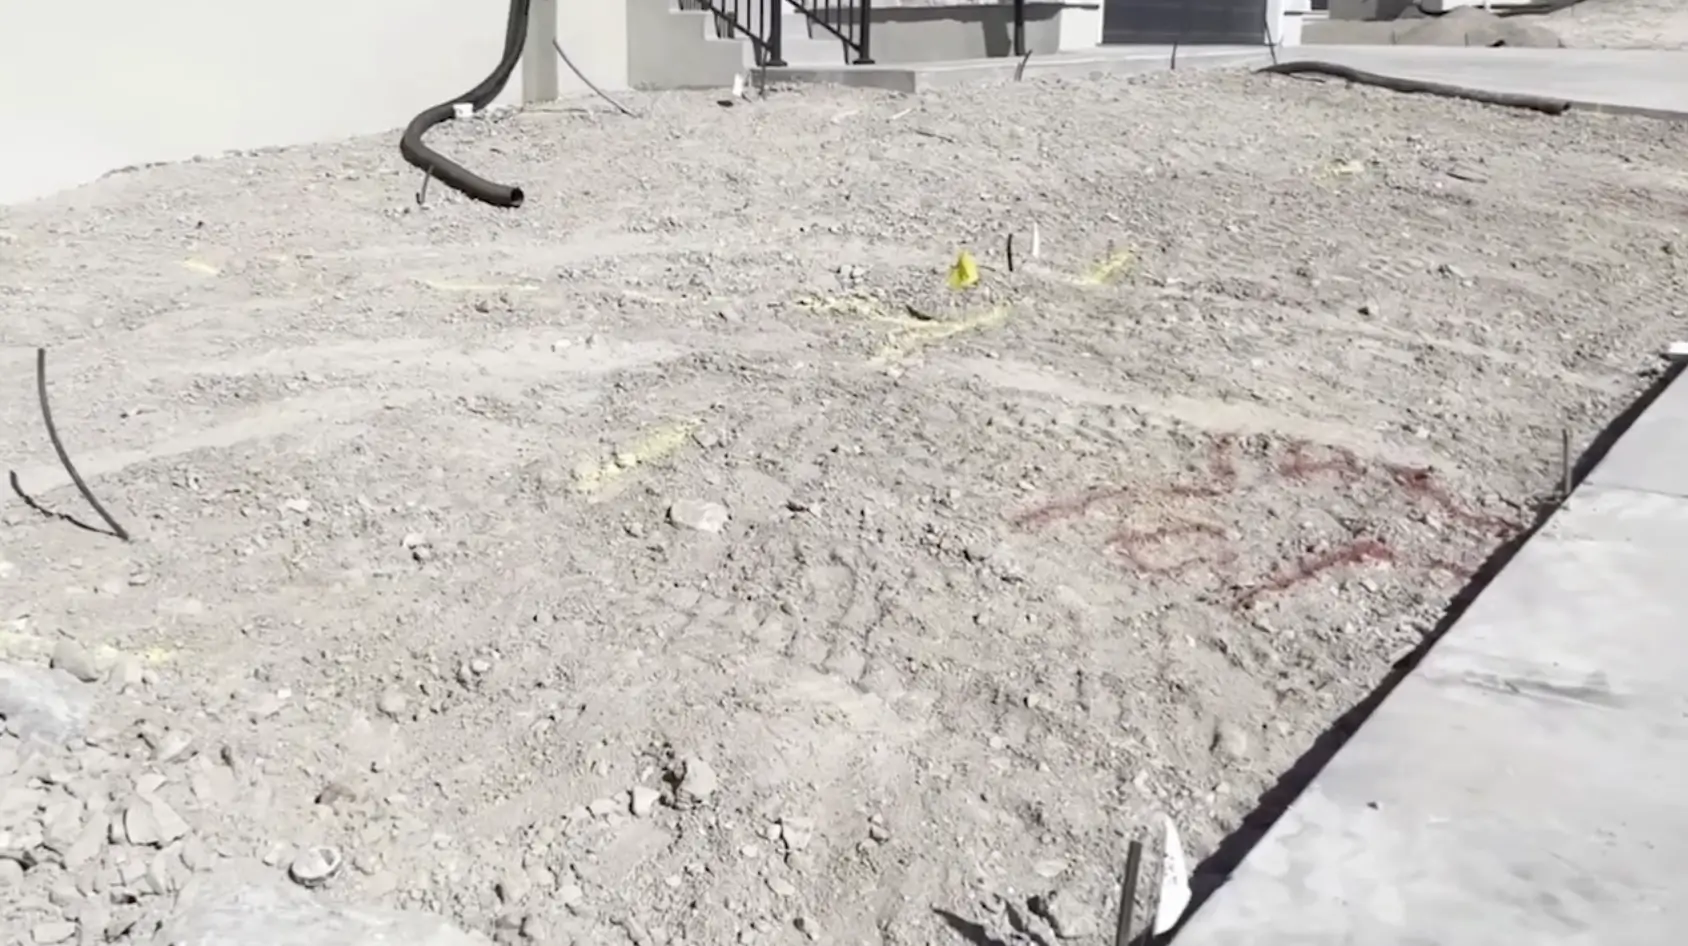
Final Site Grade
Construction debris and large rocks are removed, and the site is graded to ensure proper water drainage, preparing the ground for landscaping.
Final Touches and Inspections
The final touches and inspections are crucial for ensuring the home is ready for occupancy. This stage involves detailed work and thorough inspections to confirm everything is up to code.
Final Electrical
The electrician returns to install fans, light fixtures, electrical outlets, light switches, and low-voltage items like speakers and internet hookups.
Final HVAC
Vent covers and the thermostat are installed, completing the HVAC system.
Final Plumbing
Plumbers install toilets, faucets, sinks, and the garbage disposal. Waterproof caulking is also applied.
Cabinet Hardware
Cabinet hardware such as handles and knobs are installed, completing the cabinetry.
Carpet Installation
Carpet and padding are cut to fit each room and installed, adding comfort and warmth to the home.
Bathroom Glass
Mirrors and shower glass are installed in the bathrooms, enhancing functionality and aesthetics.
Appliances
Key appliances like the dishwasher, stove, and microwave are installed, generally included in the home build package.
Landscaping
Landscaping often includes front yard work, with sprinkler systems, trees, shrubs, sod, and xeriscaping around the foundation.
Quality Walk
The superintendent conducts a quality walk to check for incomplete items, ensuring all major projects are finished.
Final City Inspection
The city inspector performs a final inspection to confirm the home is ready for occupancy. This approval is crucial for closing on the home.
Related Articles:
Keep reading
More from the blog

Top Rated Plumbing Companies in Southern Utah for 2026

How to Measure Long-Term Real Estate Appreciation

Resort Booking & Operations Software: A Seasonal Rental Guide